Start Planning at Week 14 — Yes, Really
The nursery room design started with the chair, not the colors. Once I had a spot I liked sitting in, the rest of the room followed.
The single biggest mistake I made the first time was waiting until month seven. Cribs from mid-range brands take 6–10 weeks to ship. Wallpaper takes 3–4. Custom drapes, longer. If you want to paint, you want the fumes gone weeks before baby arrives, not days.
Realistic timeline:
– 14–28 weeks: Order crib, dresser, glider, rug, lighting
– 28–34 weeks: Paint, install wallpaper, hang shelves
– 34–38 weeks: Assemble furniture, style, wash all fabrics
– The actual room setup takes 1–3 full days spread across two weekends if you’re doing it yourself
What a Nursery Actually Costs
I’ve seen the “$500 nursery!” and “$8,000 nursery!” articles and neither is honest. Here’s what I spent and what I’d tell a friend to budget:
Core furniture:
– Crib: $250–$400 hits the sweet spot. Convertible ones (crib → toddler bed → daybed) earn their price if you plan to stay in the same house.
– Dresser doubling as changing table: $300–$600. Skip the dedicated changing table.
– Glider or rocker: $350–$600 for something you’ll actually want to sit in at 2 a.m.
Soft goods and function:
– Rug (5×7 or 6×9, washable): $150–$400
– Blackout curtains or shades: $50–$200 per window
– Layered lighting (ceiling + lamp + nightlight): $100–$400
Decor:
– Accent wall (removable wallpaper or paint): $80–$300
– Art, mobile, small pieces: $100–$300
Total for a nice, non-luxury nursery: $1,000–$3,000. You can do it under $800 by reusing furniture and buying secondhand. You can also easily spend $5,000+ if you fall down the boutique rabbit hole. I’ve done both and the middle range looked better than the top because I stopped trying so hard.
Who This Kind of Room Is For
A well-designed nursery is calm, low-stimulation, and set up to work in the dark. Rooms from 8’x10′ up to 12’x14′ all work — the size matters less than fitting four functional zones: sleep, changing, feeding, and play. If your room is under 100 square feet, you’ll combine feeding and changing into one corner and that’s fine.
This setup works whether you’re doing:
– A dedicated small bedroom
– A converted office (keep the adult furniture, add playful accessories)
– A corner of your own room curtained off
– A rental where you can’t paint (removable wallpaper is genuinely good now)
The Design Directions Worth Considering
I’ve tried three of these four and here’s my honest take.
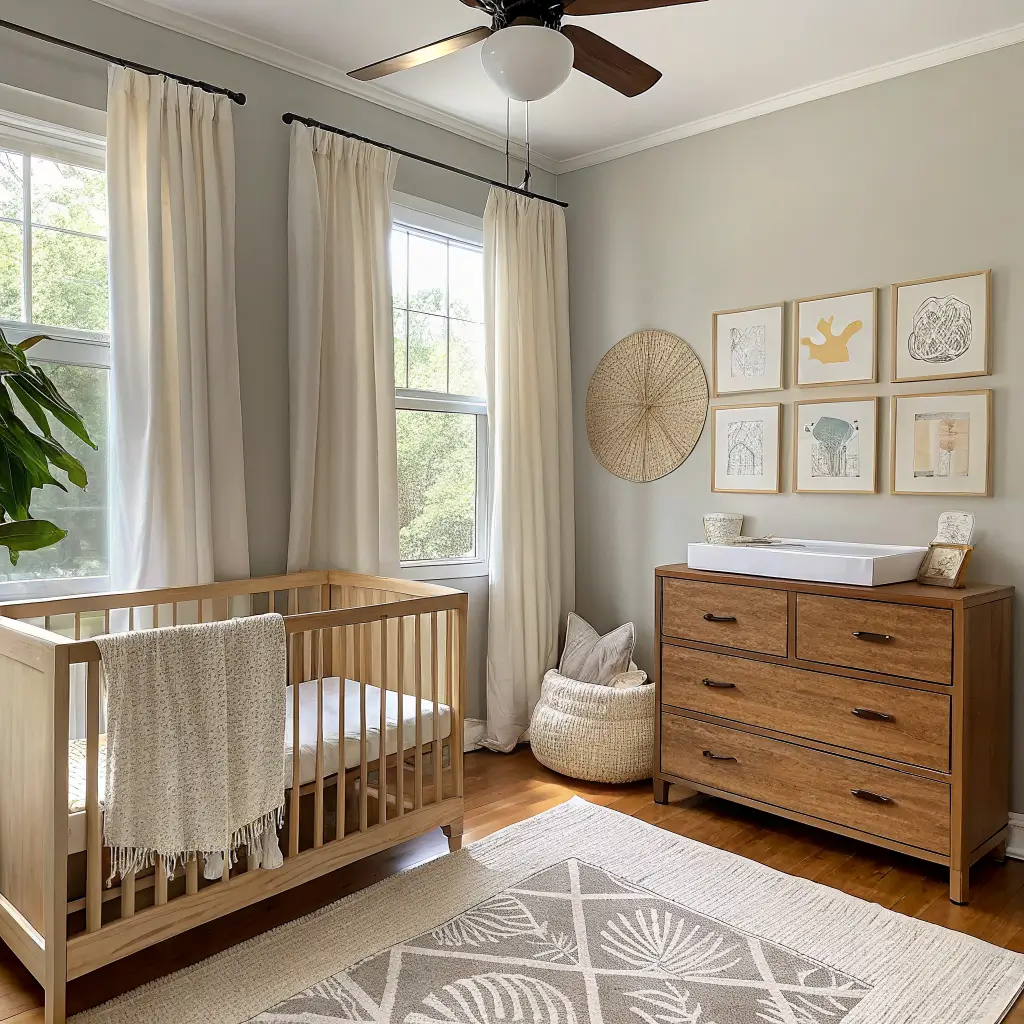
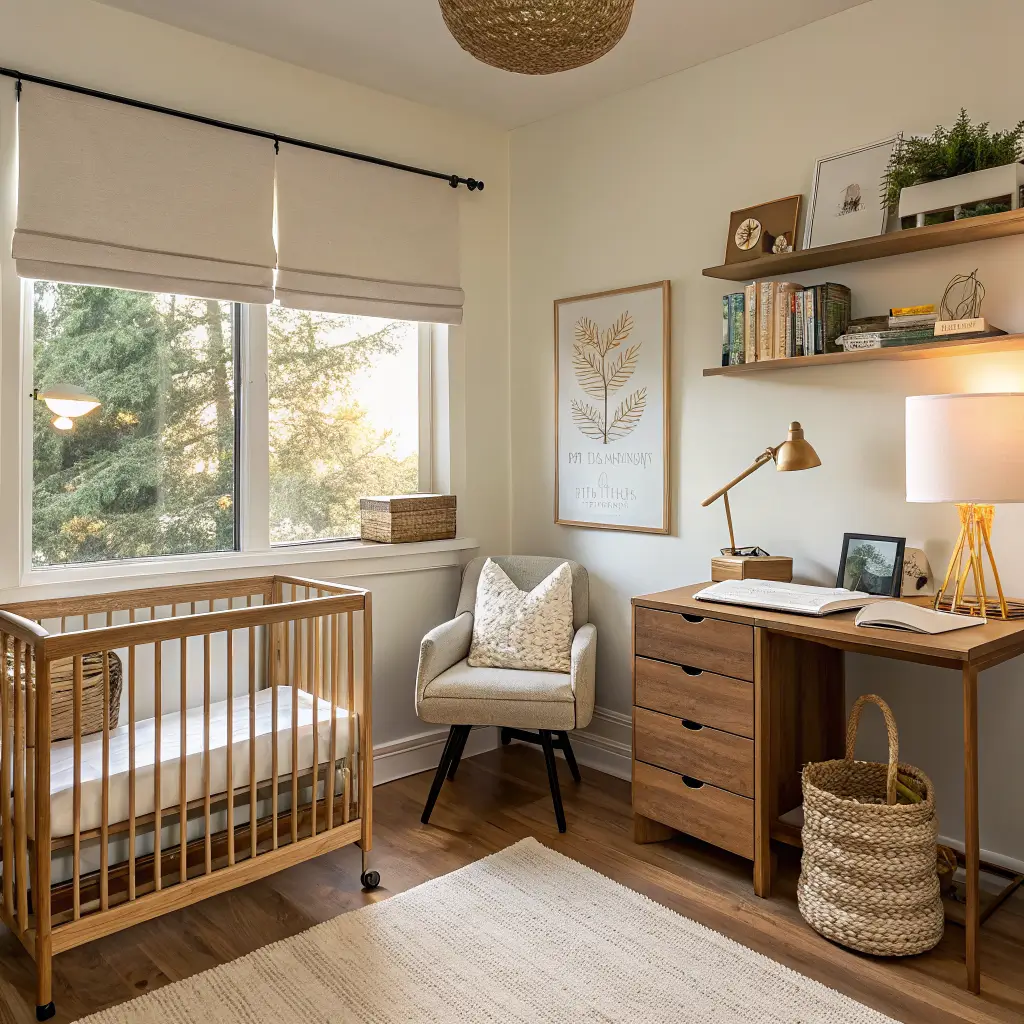
Modern neutral / Scandinavian. Light woods (oak, birch), warm whites, soft greige, minimal decor. It photographs well and it stays out of the way visually, which matters more than you’d think when you’re sleep-deprived. This is what I ended up with the second time.
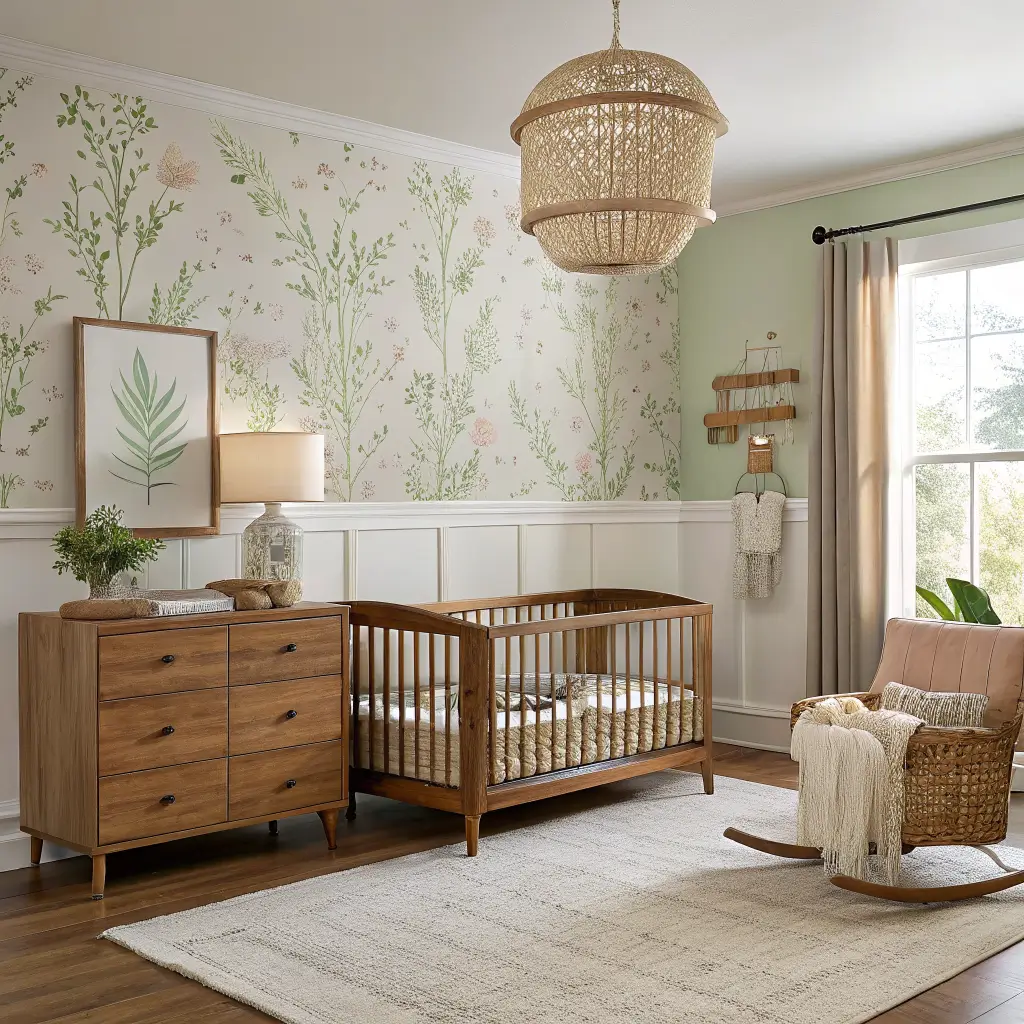
Wallpaper-led whimsy. One big pattern on one wall (botanicals, stars, small animals) with everything else neutral. Highest visual payoff for the effort. My favorite approach if you want the room to have real personality.
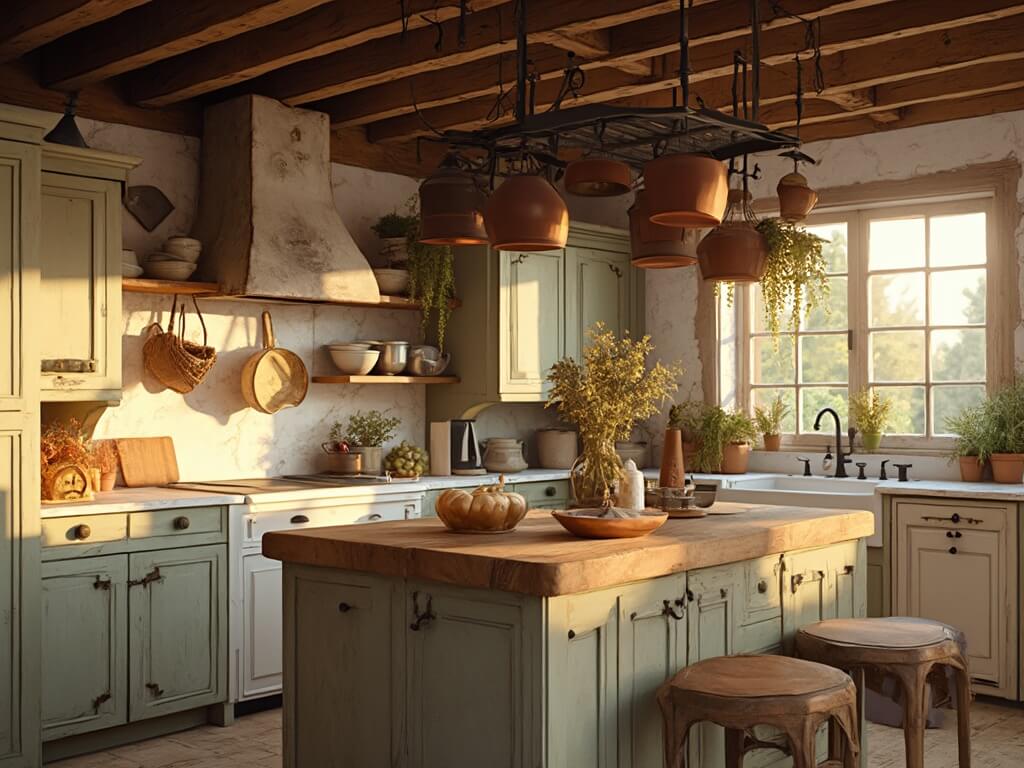
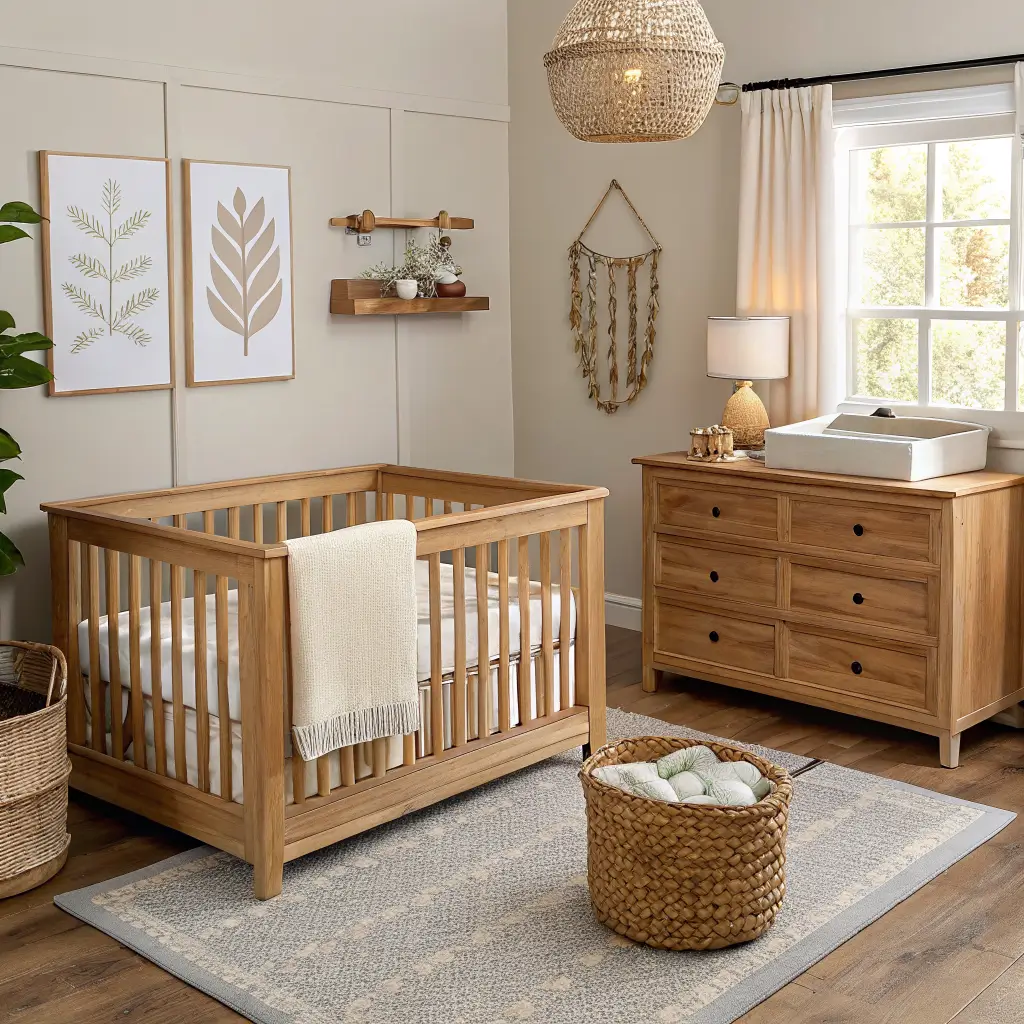
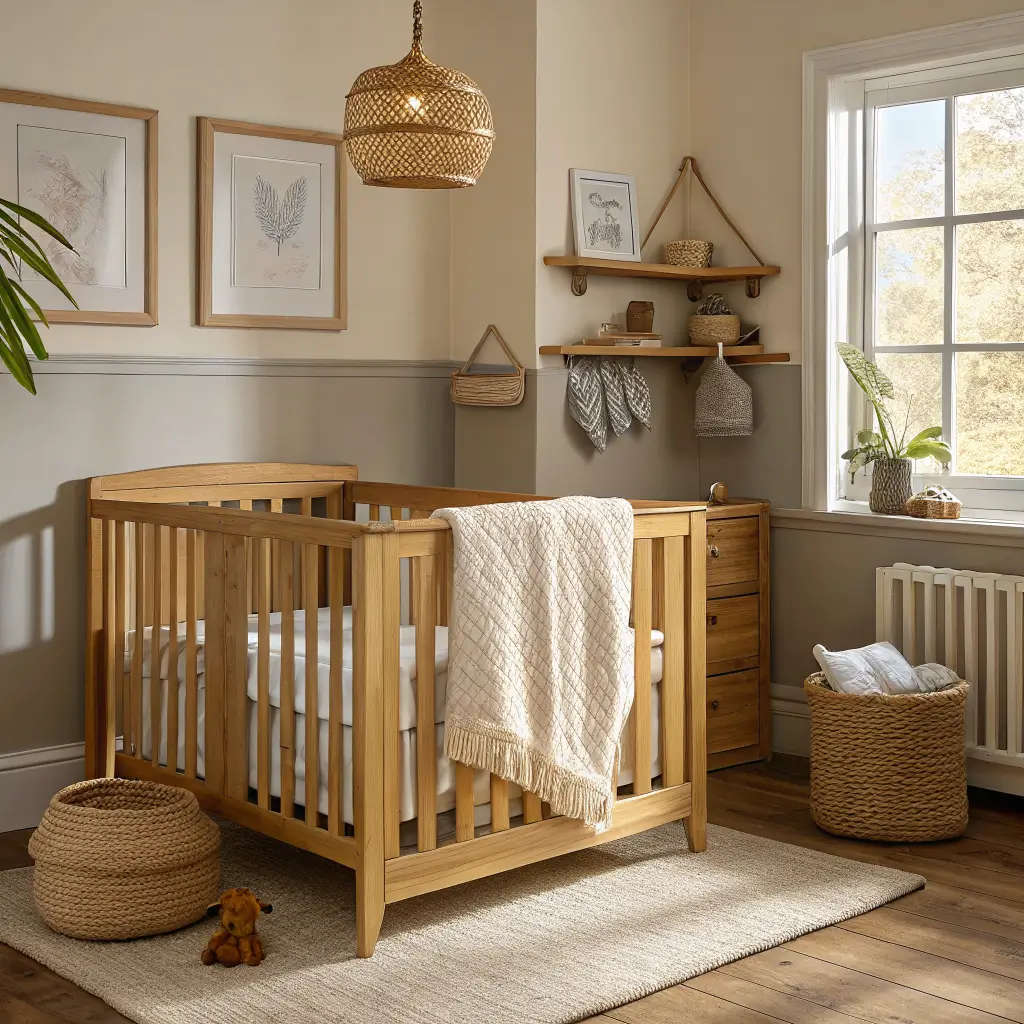
Soft boho. Rattan, wicker baskets, jute, warm terracotta and clay tones. Great texture, but I’d caution against a rough jute rug where the baby will crawl — layer a soft cotton on top.
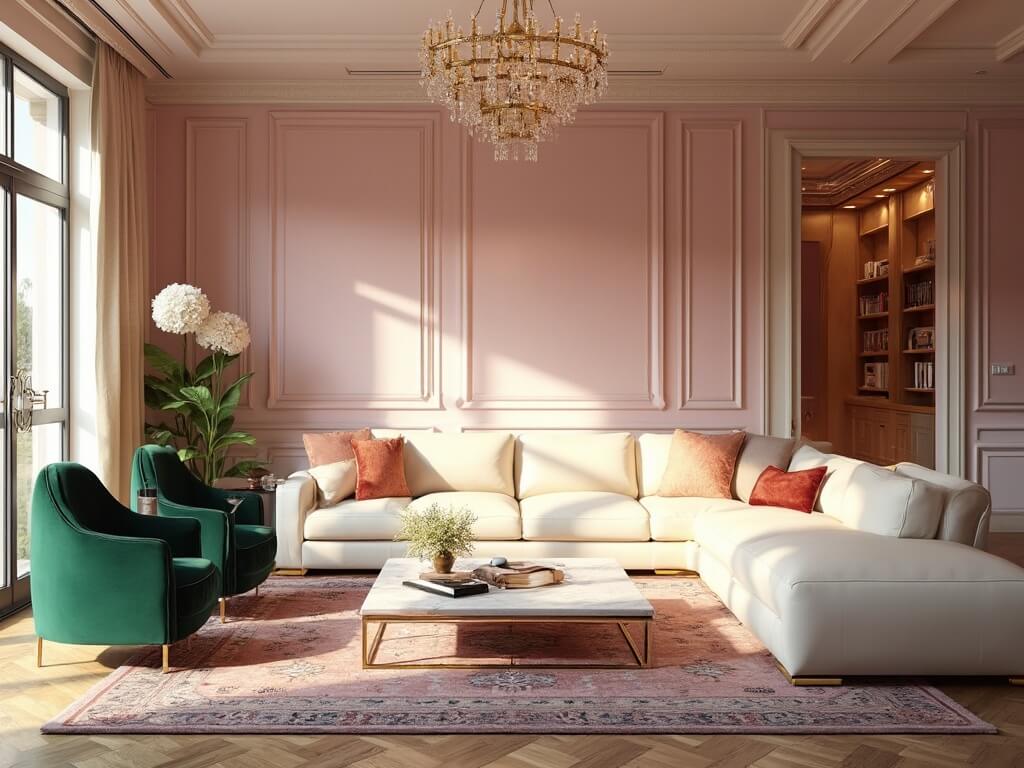
Timeless transitional. Paneled walls, muted color, classic silhouettes. Grows into a big-kid room without a redo.
The Color Palette That Actually Helps a Baby Sleep
Skip the primary colors and cartoon brights. They’re stimulating in the exact room where you want the opposite.
On walls, pick one:
– Warm beige or muted greige (Benjamin Moore Edgecomb Gray is a workhorse)
– Soft white with a warm undertone (avoid cool blue-whites, they go clinical)
– Pale sage
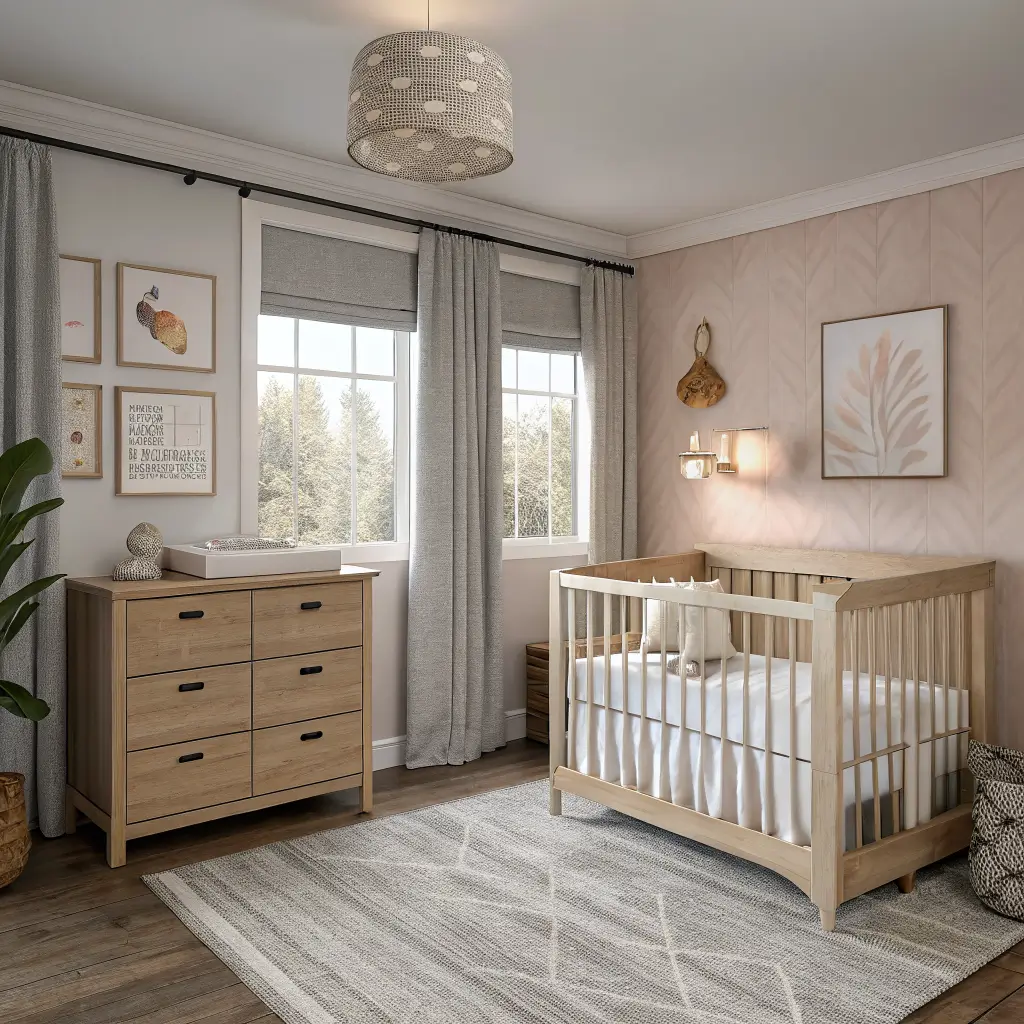
– Dusty blush
– Soft powder blue
For accents, use sparingly:
– Terracotta, ochre, muted mustard
– Clay pink
– Warm brown, charcoal on hardware and lighting
A word on paint finish: use eggshell on walls, semi-gloss on trim, and always low or zero-VOC. Matte hides mistakes but you can’t wipe crayon off it later, and you will need to.
The trending move I like: a soft color or subtle pattern on the ceiling while walls stay quiet. Babies spend a lot of time looking up.
The Pieces You Actually Need
The crib
Standard US crib mattress is 28"x52", so cribs run around 30–32" wide by 53–56" long. Give yourself at least 24" of clearance on the long side for reaching in. Convertible is worth it. Look for adjustable mattress heights — you’ll drop the mattress twice as the baby grows.
Keep the crib several feet from windows, radiators, and anything with cords. This is the one non-negotiable.
The dresser (not a changing table)
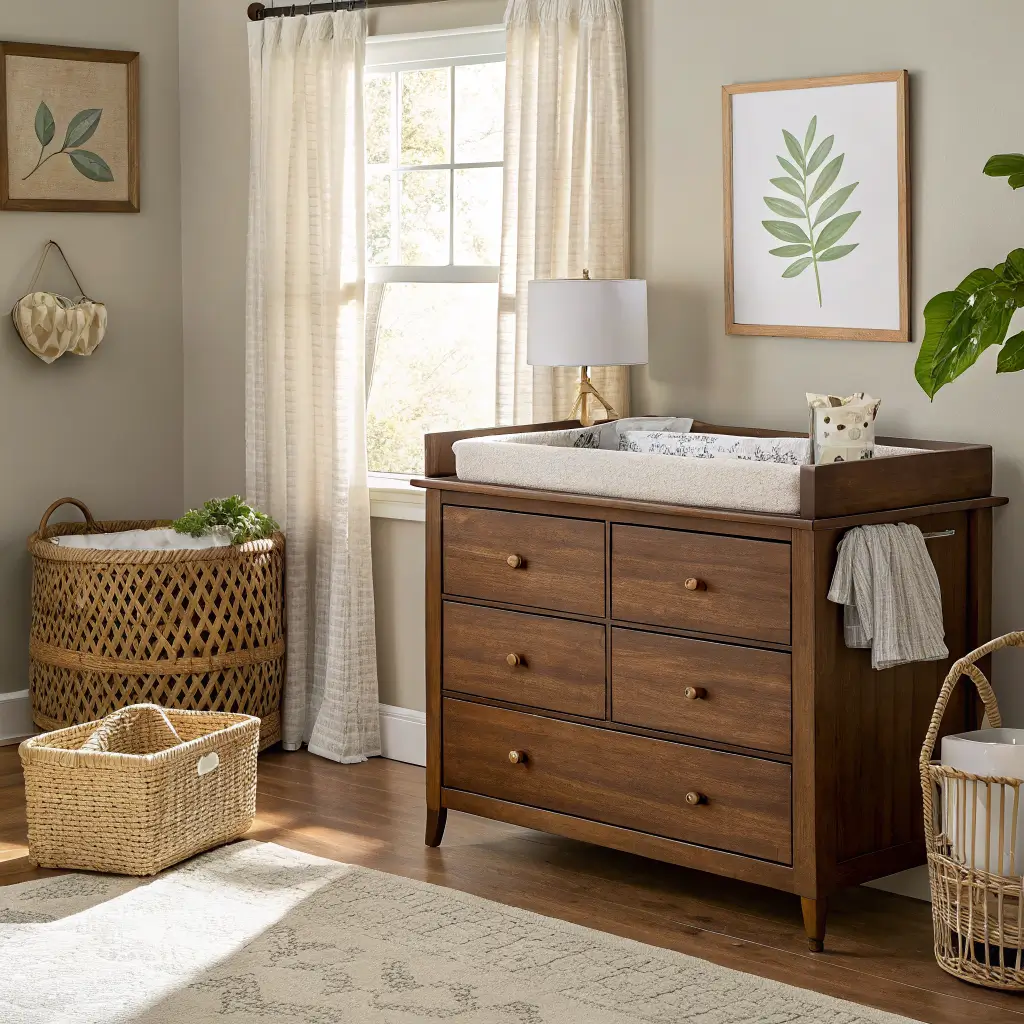
Here’s the specific advice I wish I’d taken: buy a real dresser about 36" tall, add a removable changing tray to the top, and skip the dedicated changing table entirely. In 18 months the tray comes off and you have a dresser your kid will use for a decade. I bought a purpose-built changing table with my first and donated it before her second birthday. Never again.
The chair
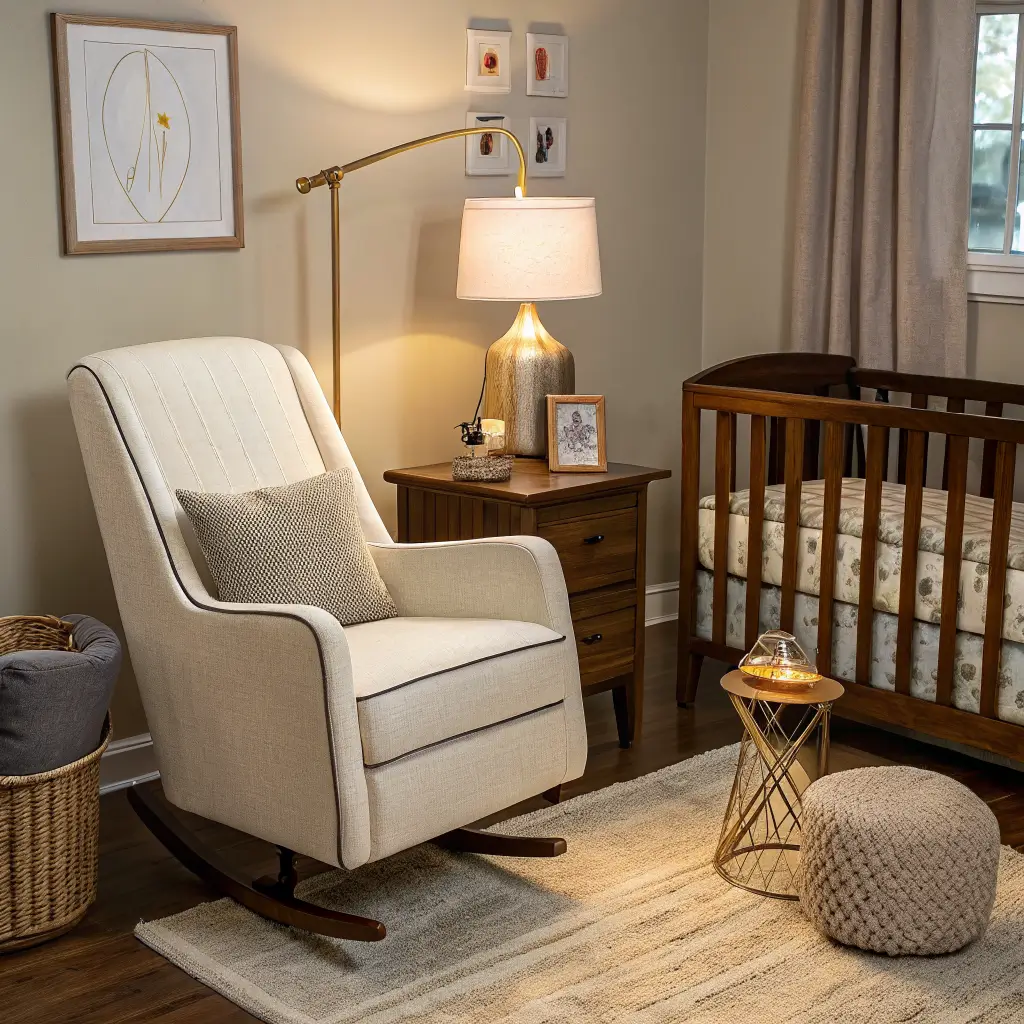
Get one you can actually sleep in slumped over. High or mid-back, arms wide enough to rest on for feeding, and a fabric you can spot-clean or a removable slipcover. Performance fabric is worth the upcharge. Everything gets on this chair — milk, spit-up, coffee, tears (yours).
Put it near the crib and near an outlet for a lamp and white noise machine.
The rug
The rug I bought first was a low-pile wool in cream. Beautiful. Impossible to keep clean. The second time I bought a washable performance rug in oatmeal and it has been in a washing machine four times. Go 5×7 minimum, 6×9 if the room fits it — you want it big enough to define the play zone and soft enough to crawl on. Add a rug pad. Every time.
Lighting, in three layers
This is where most nurseries fall apart. One overhead light on a bright bulb is a disaster at 3 a.m.
– Dimmable overhead fixture (a small semi-flush or pendant, warm bulbs at 2700K)
– Floor or table lamp by the feeding chair, on a smart plug or dimmer
– Warm nightlight near the changing area — motion-sensing is worth it
Blackout window coverings
Non-negotiable if you want a baby who naps. Blackout roller shades behind decorative drapes is the setup I’d recommend to anyone. The shades do the work, the drapes soften the room and absorb sound. Confirm the drapes are cordless or that cords are tied up out of reach.
Setting Up the Room: The Order That Saves Time
I’ve rearranged nurseries mid-build enough times to have opinions here.
1. Empty the room completely and check outlet locations, window height, radiator placement, and door swing.
2. Paint first, everything else second. Ceilings before walls if you’re doing both.
3. Install window treatments and the overhead light while the room is empty and you can use a ladder freely.
4. Place the crib on your focal wall — usually the wall opposite the door so it’s the first thing you see.
5. Dresser near the closet to keep the diapering/clothing workflow tight.
6. Chair near the crib, near an outlet, with a small side table you can set a water glass and a phone on.
7. Rug last, then art, then baskets and small decor.
The Small Choices That Make the Room Feel Designed
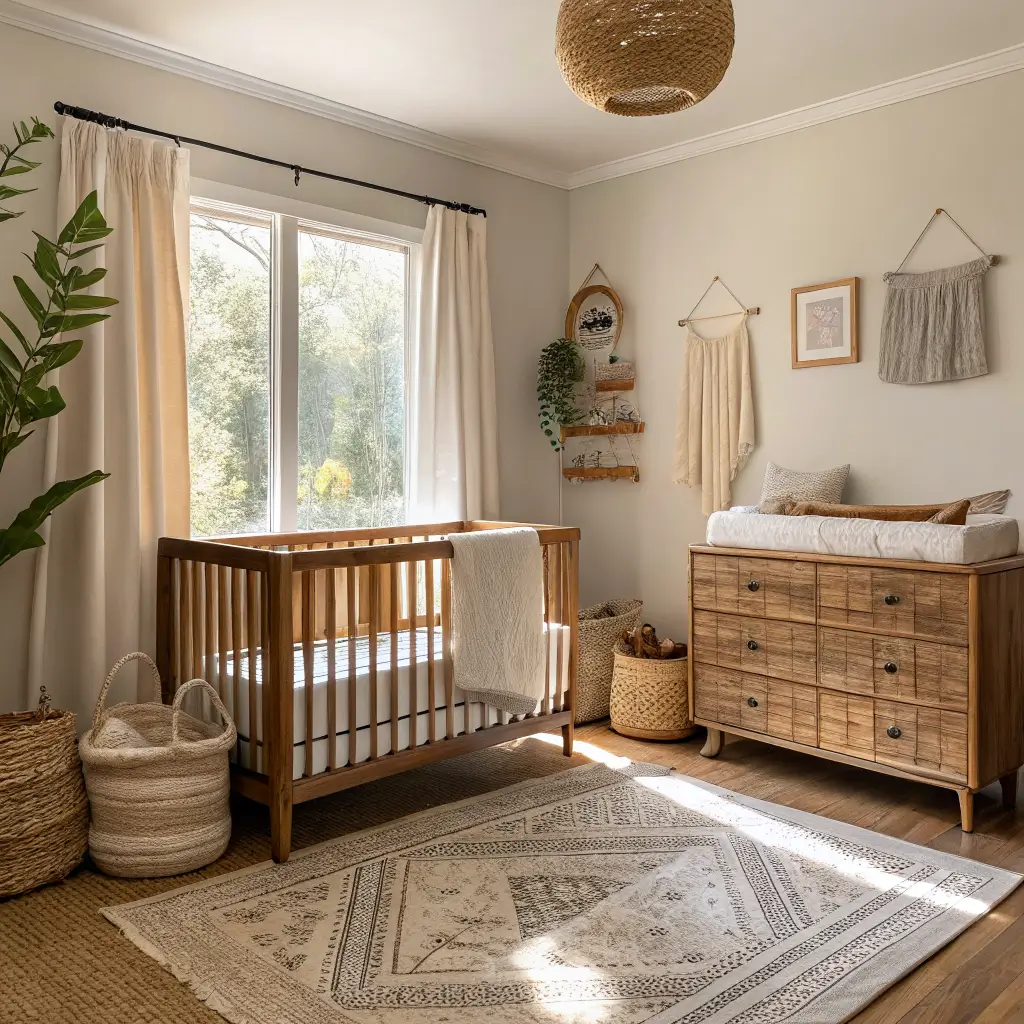
Pick three main materials and repeat them. Mine were oak, cream boucle, and wicker. That’s it. When you keep repeating the same three, the room reads intentional even if nothing matches perfectly.
One big pattern, everything else quiet. Wallpaper OR a bold rug OR a painted ceiling — not all three. The one I love most is wallpaper behind the crib with plain walls elsewhere.
Coordinate your metals. All brass or all matte black or all brushed nickel across drawer pulls, curtain rods, and light fixtures. Mixing looks like an accident even when it’s intentional.
Leave the dresser top mostly empty. A lamp, a small tray with the essentials, one piece of decor. That’s it. You’ll be putting things down on this surface constantly and clutter compounds fast.
Mistakes I Made So You Don’t Have To
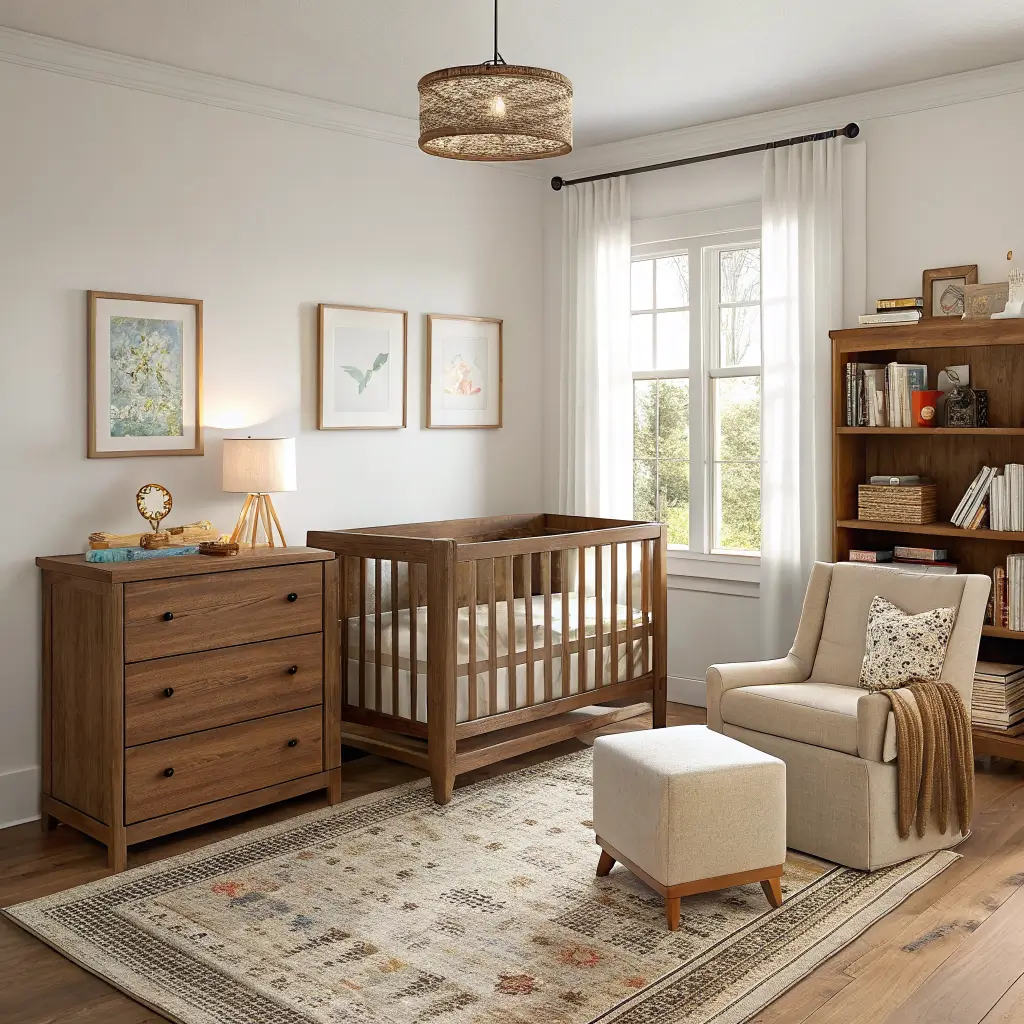
Buying the matching nursery set. I bought a crib-dresser-glider set in the same finish for my first. It looked like a furniture showroom, not a room someone lived in. Second time I mixed a light oak crib, a vintage walnut dresser, and a cream glider — infinitely better.
Theming too hard. A safari nursery is adorable at three months and embarrassing at three years. Pick a feeling — calm, botanical, storybook — not a specific character or animal set.
Overcrowding. More furniture is not more function. I had a bookshelf, a toy bin, a hamper, a side table, AND a floor pouf in an 11×11 room. It felt smaller than it was and there was nowhere safe to lay a play mat down. Cut two of those.
Ignoring sound. Hardwood floors and bare walls make every creak echo. A big rug, lined drapes, and something soft on the wall (a woven hanging, a fabric-covered headboard shape behind the crib) genuinely soften the room acoustically. I noticed the difference the first night.
Skipping the nightlight. I used my phone flashlight for the first two weeks and hated my life.
Making It Grow With the Kid
The point of not going full-theme is that you can update the room without redoing it. Every 12–18 months I:
– Swap art prints (I keep the same frames)
– Rotate books on open shelves
– Change crib sheets and the throw on the glider
– Retire toys that no longer get played with
The crib converts to a toddler bed around age two. The dresser stays. The rug stays. The chair moves to the corner and becomes a reading spot. The room becomes a big-kid room without me buying much of anything new — which is exactly the return on doing it thoughtfully the first time.
The thing nobody tells you: you will spend more hours in this room, in the dark, than in any other room of your house for the next two years. Design it for that. The photos are a bonus.