The Look, the Cost, and Who It’s For
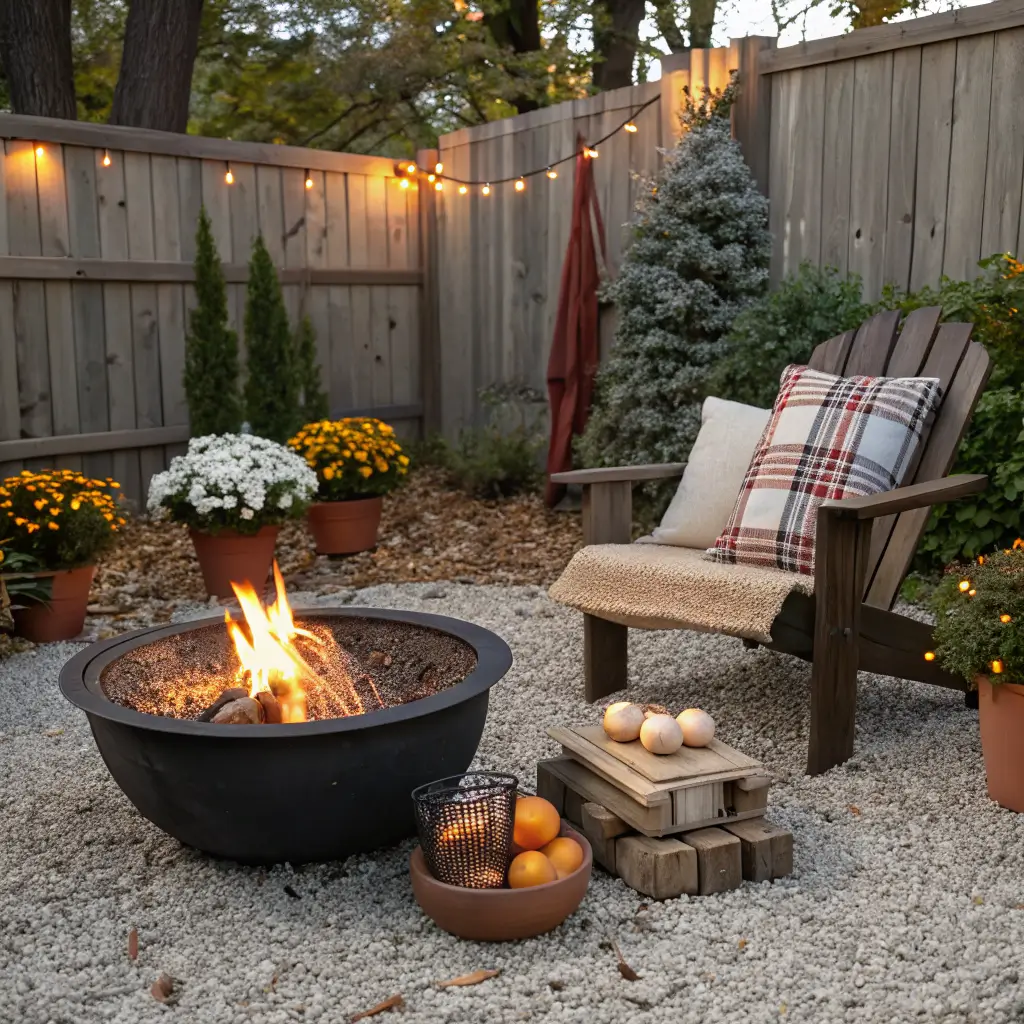
The outside firepit was the thing our backyard was missing until one fall weekend. A simple stone ring and two stools made the space usable past dark.
Before you pick a pit, decide what kind of night you’re building for. A gas fire table for wine on a Tuesday is not the same setup as a stone ring for s’mores with four kids.
Rough timelines:
– Portable pit + chairs, styled: 1–3 hours
– DIY stacked-block or stone ring with gravel base: one weekend, 6–12 hours
– Sunken or built-in concrete/Corten feature: 2–3 weekends or a pro install
Rough costs (what I’ve actually seen at Lowe’s, Home Depot, and direct-to-consumer):
– DIY block-and-gravel ring: $100–$300 in materials
– Basic 24–30″ steel or cast iron bowl: $80–$250
– Smokeless pit (Solo Stove Bonfire, Breeo X19): $250–$600
– Propane fire table, 38–44″: $300–$900 for standard, $900–$2,000+ for stone or concrete tops
– Built-in hardscape with gas line: $1,500–$5,000+ installed
Size that actually works: aim for a 36–44 inch pit diameter. Smaller feels like a candle in a big yard; bigger eats the space and pushes seating too far apart to talk.
Clearances that matter, no exceptions:
– 10 feet minimum from the house, fence, shed, low branches
– 3 feet minimum from seating
Skill-wise: gas tables and portable pits are beginner. A stacked block ring is beginner-intermediate if you can dig and level. Mortared stone, sunken pits, and gas line work — hire it out.
Who this is for: people who host, families who want the s’mores thing without a state park, renters with a balcony who need a code-legal gas option, and anyone tired of a patio that doesn’t get used after 8 p.m.
Design Directions That Actually Hold Together
Pick one and commit. Mixing three styles is how patios end up looking like a clearance aisle.
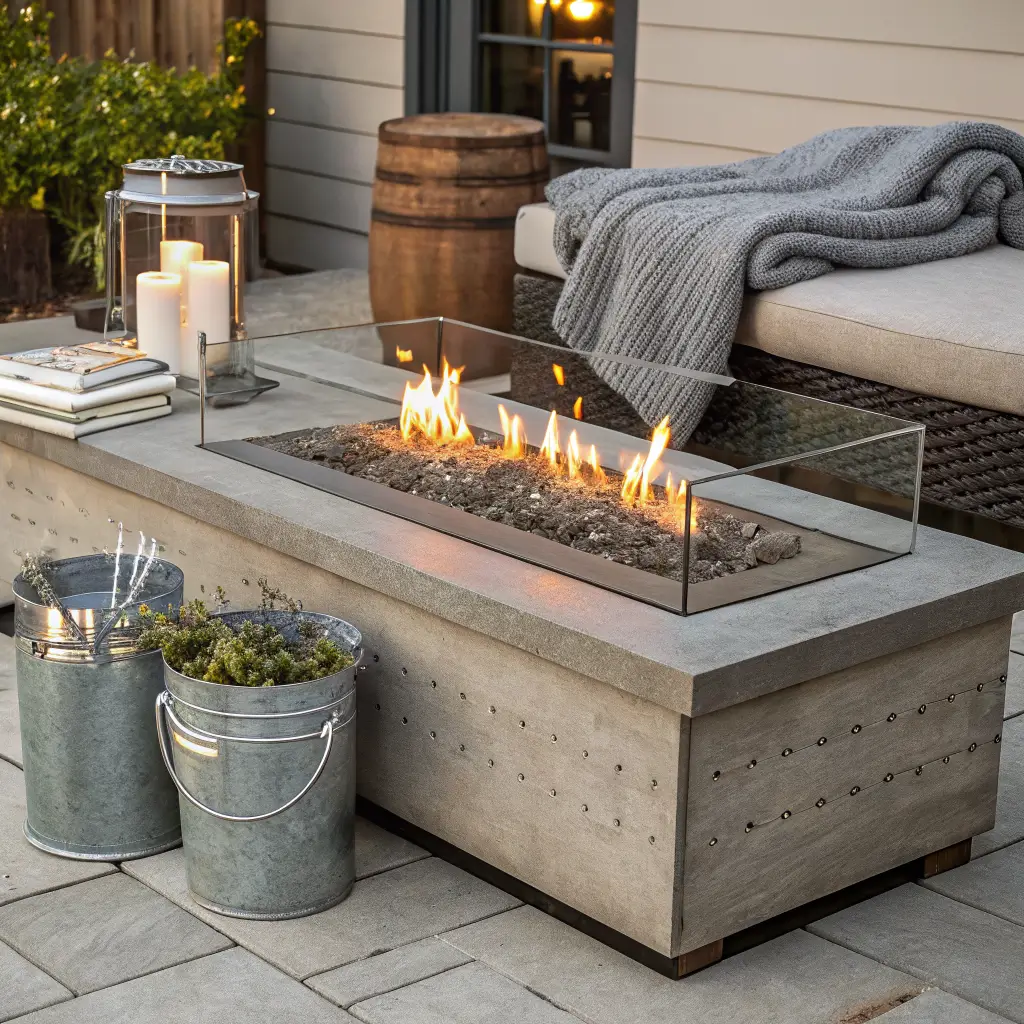
– Modern: matte black steel pit, linear propane table, concrete pavers, glass wind guard, black lava rock or clear fire glass
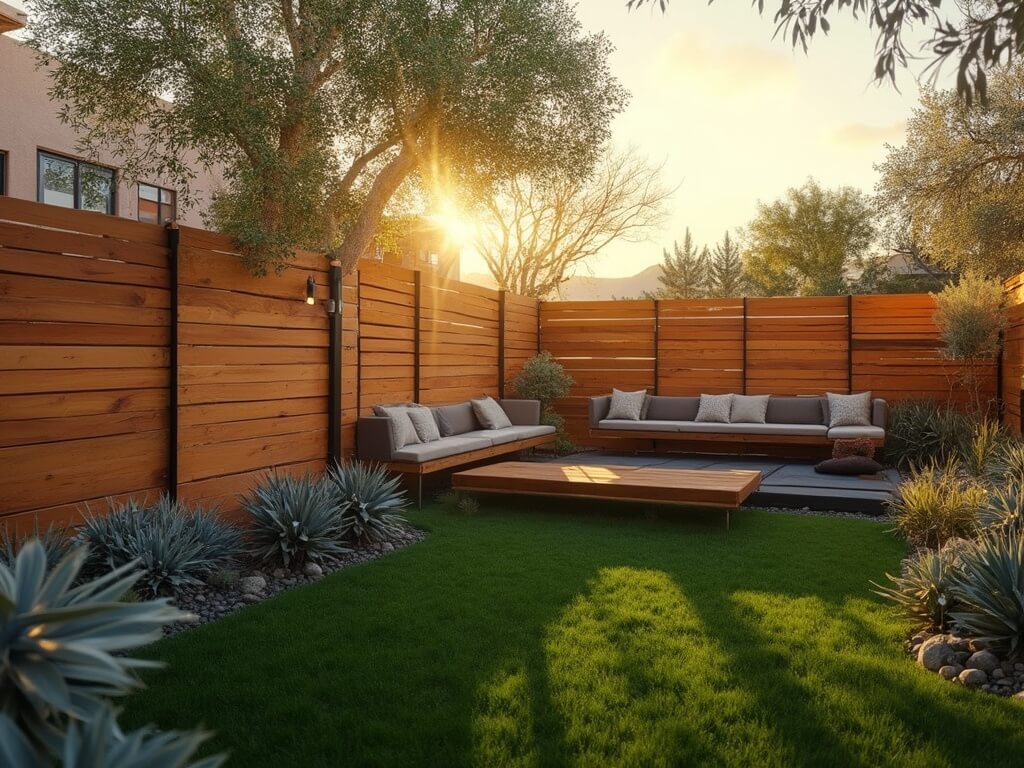
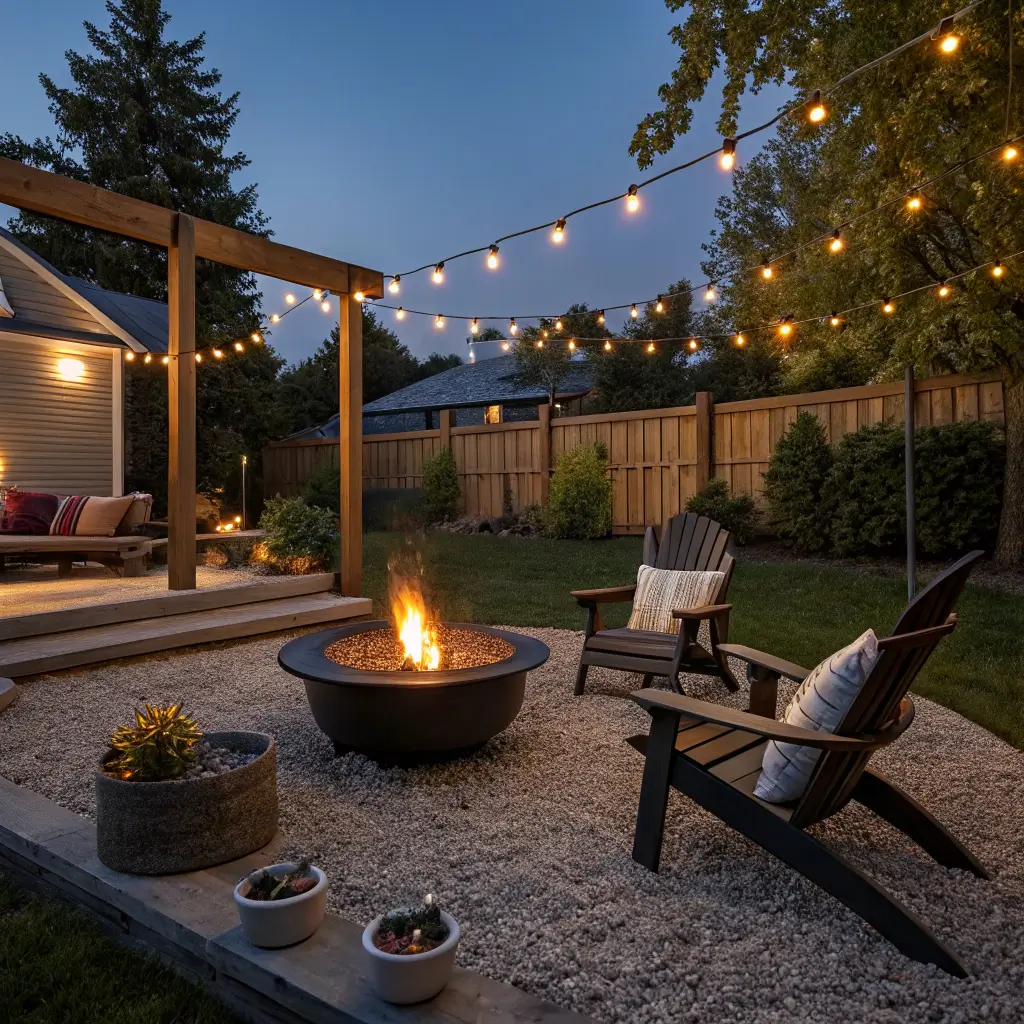
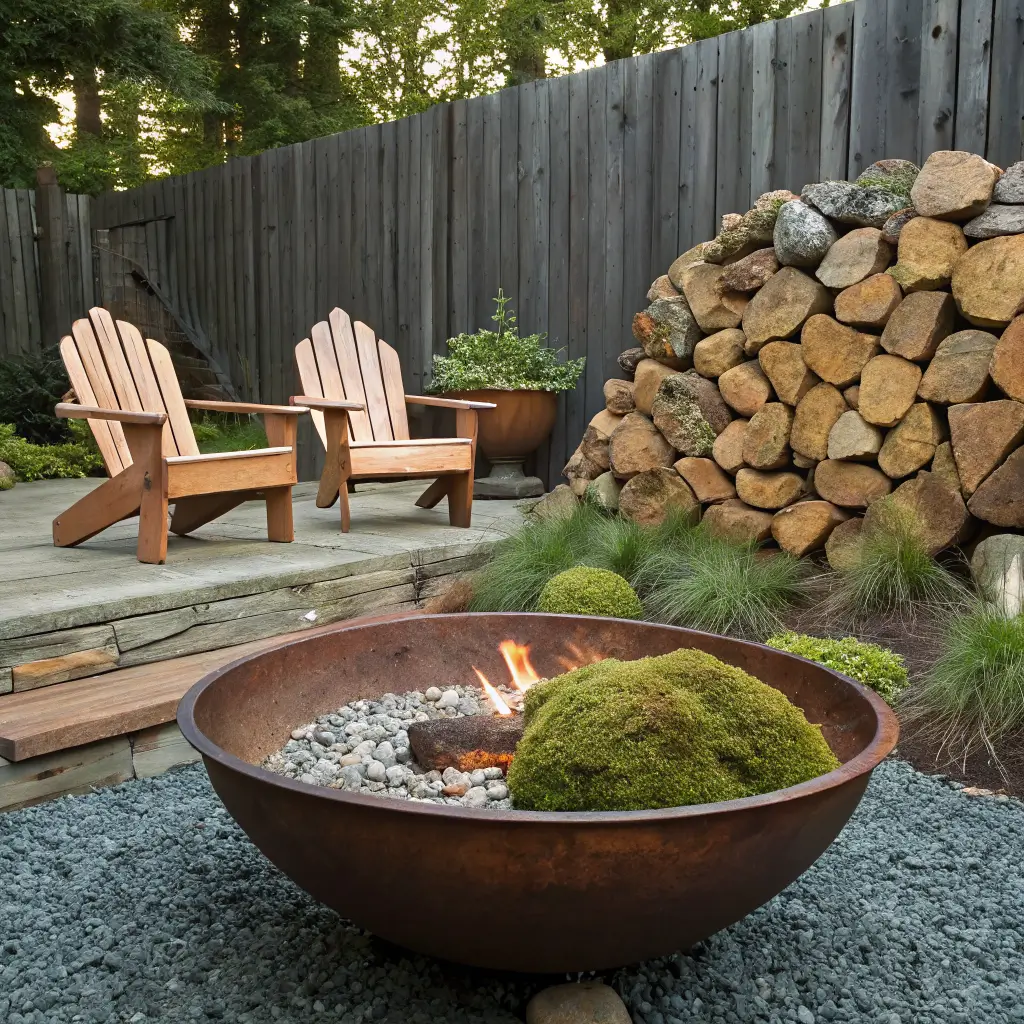
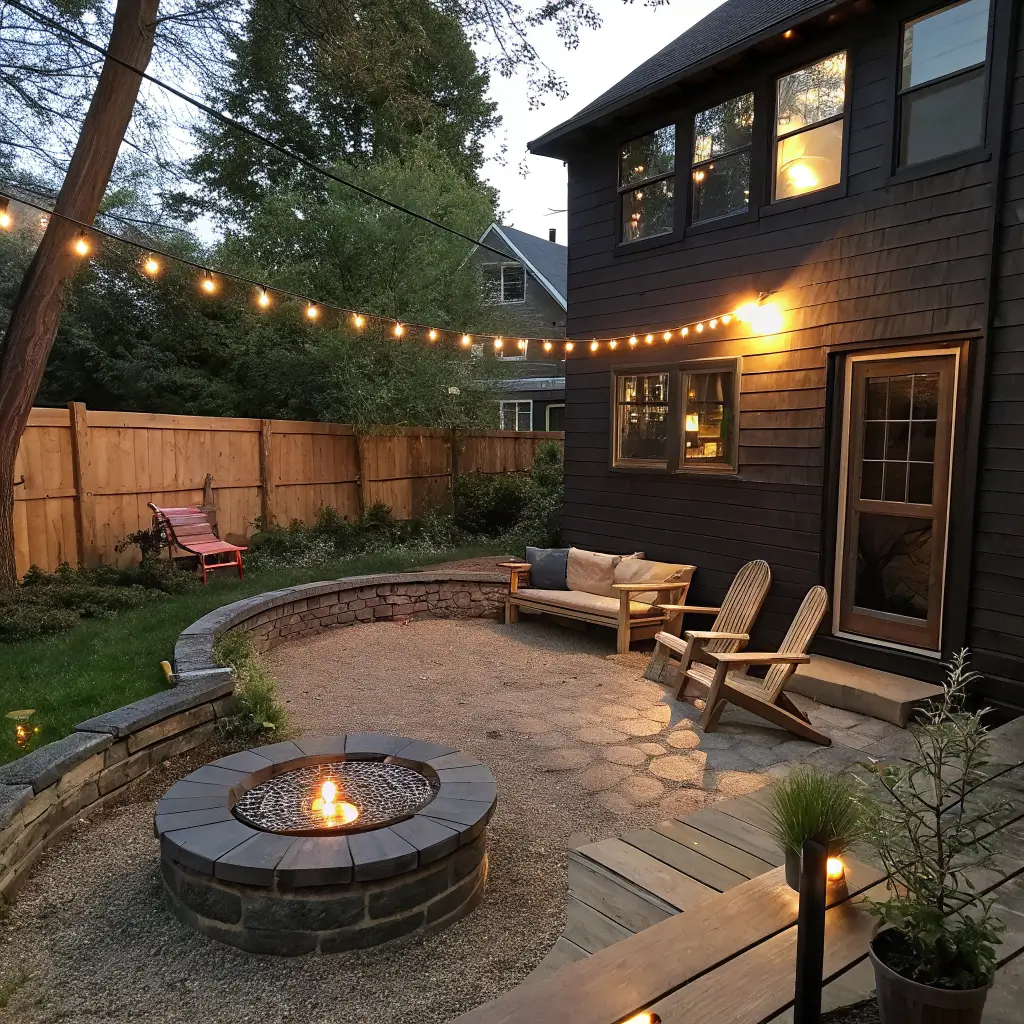
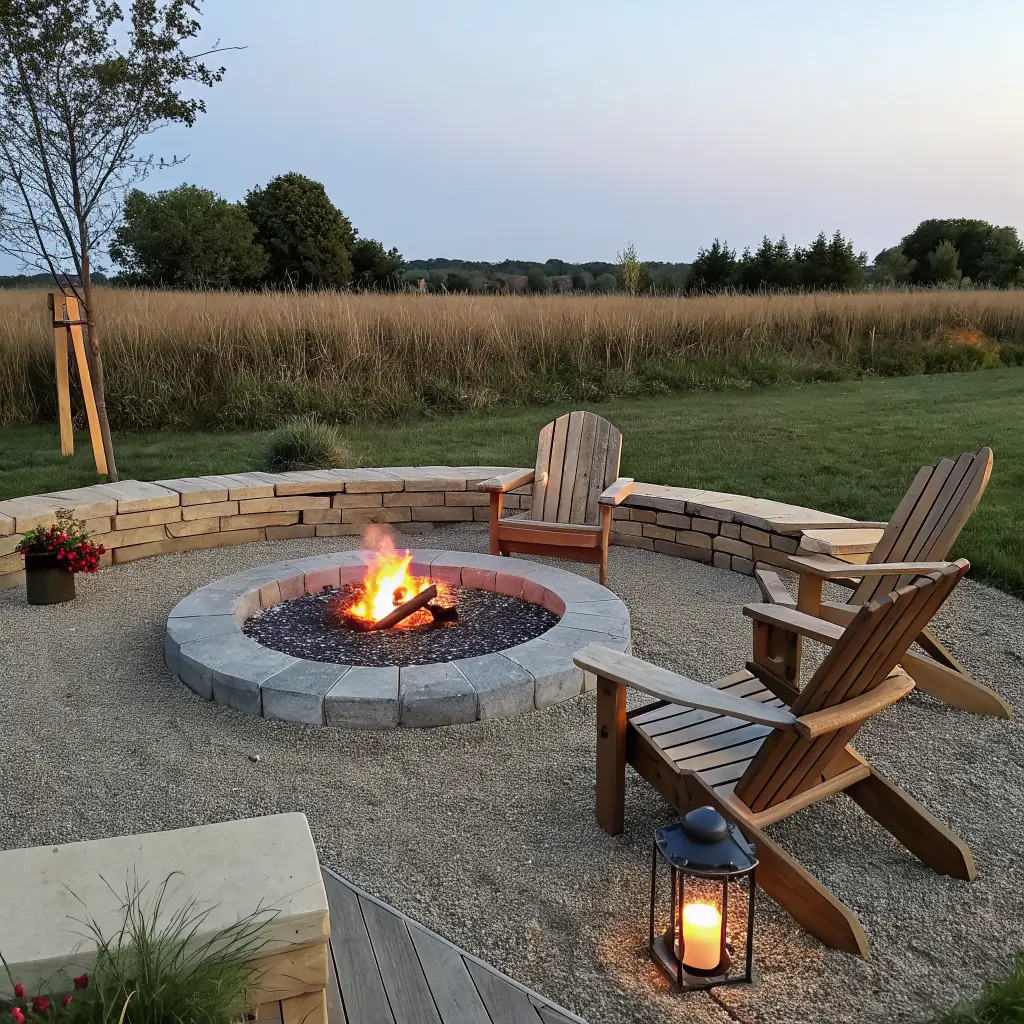
– Rustic/cabin: stacked stone or Corten steel ring, pea gravel pad, cedar Adirondacks, a couple of boulders as edging
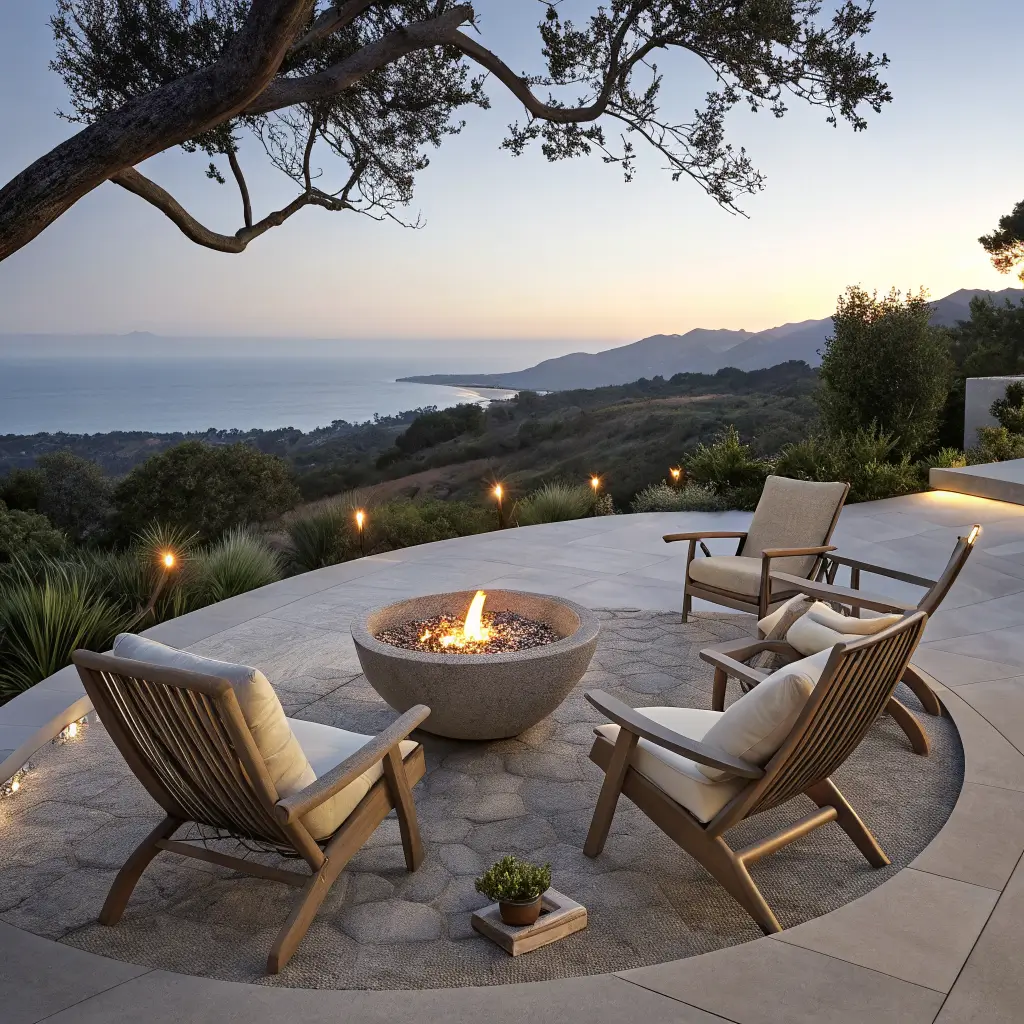
– Scandinavian minimalist: low concrete bowl, light oak or teak seating, cream cushions, one big planter
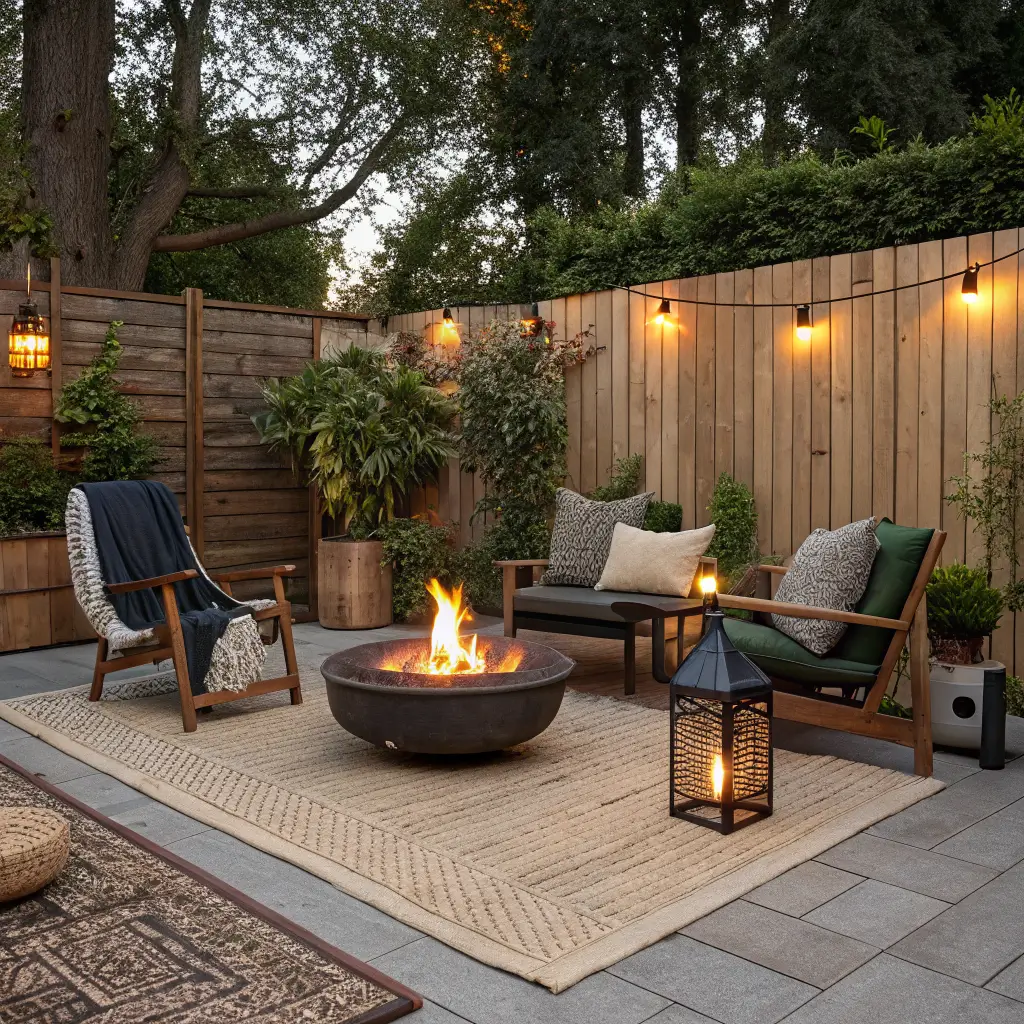
– Boho: compact bowl on a flatweave outdoor rug, floor poufs, brass lanterns, layered olive and terracotta textiles
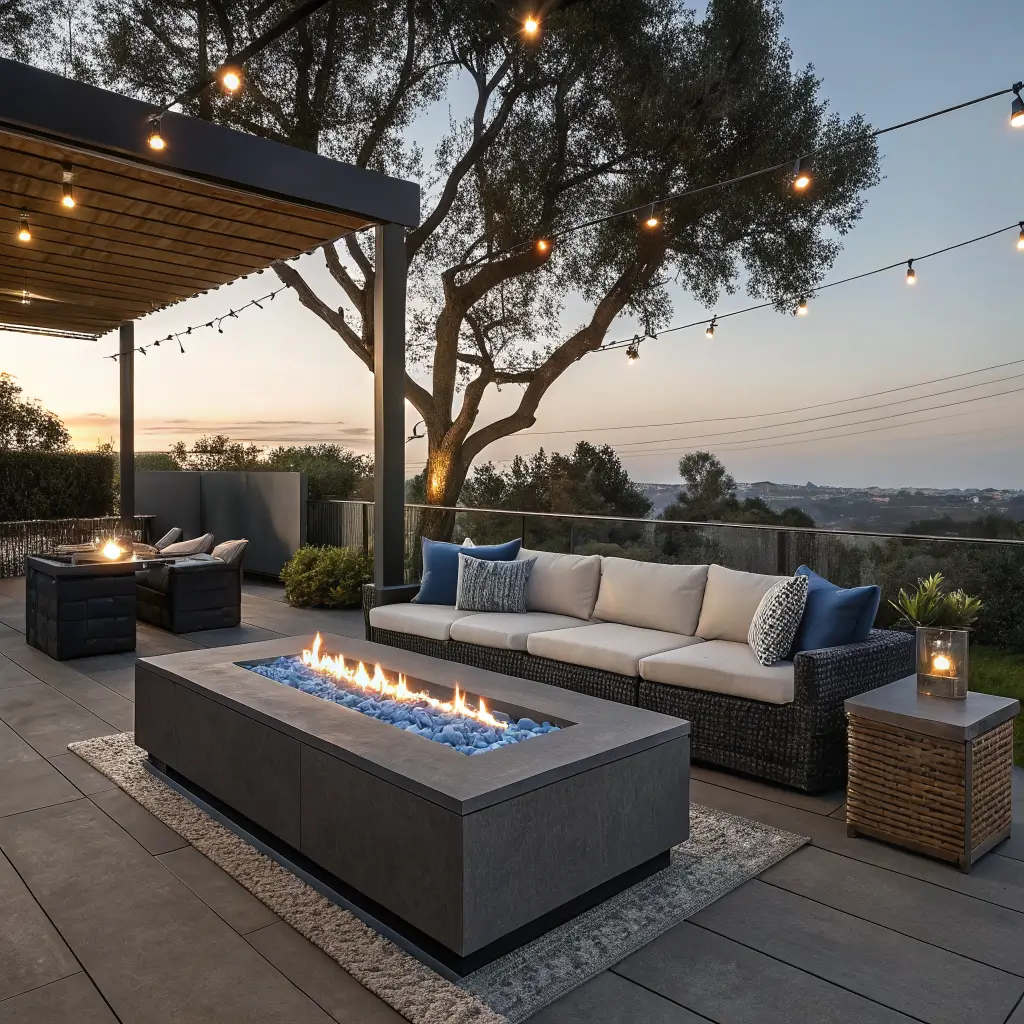
– Resort/coastal: rectangular gas table, cream all-weather wicker, cobalt or ice glass fire media, white flagstone
Palette rule I stick to: three colors, max. My current setup is charcoal, sand, and olive. The fire is the fourth color, and it changes every night — don’t fight it with a bright rug.
Materials that hold up outside: powder-coated aluminum, teak, acacia, all-weather wicker over a rustproof frame, and Sunbrella or Olefin cushions. Skip untreated pine, thin cast aluminum, and anything with a foam core that isn’t drainable. I learned that with a $180 chair from a big box store that puddled water for three days after every rain.
The Pieces That Actually Do the Work
The pit itself — pick based on how you’ll use it:
– Smokeless wood pit (Solo Stove-style): best if you want real fire and real logs without the campfire hair. Portable, easy to store, no gas hookup.
– Rectangular gas fire table: best if you host adults for drinks. Doubles as a coffee table when unlit. Push-button, no smoke, no ash cleanup.
– Corten steel bowl (30–36″): the crossover pick — rustic enough for a gravel pad, sculptural enough for a modern patio. Rusts to a warm patina on purpose.
– Stone or block ring with metal insert: classic DIY, cheapest per hour of use, and it looks like it belongs there in five years.
Seating that works around fire:
Four to six seats is the sweet spot. Fewer feels sparse, more turns into a meeting.
– Adirondacks around a round pit for casual nights (get the ones with a contoured back — the flat-plank kind punish you after 20 minutes)
– A modular sectional along two sides of a rectangular gas table for outdoor-living-room feel
– A curved bench plus two chairs — my current combo, and it’s the most social layout I’ve tried
The accessories that actually matter:
– Fire glass or lava rock for gas pits — even coverage over the burner, nothing piled on the igniter
– Glass wind guard if you’re on a deck or anywhere the flame flickers out
– Spark screen for wood pits, always, if kids are within ten feet
– A weatherproof deck box nearby for blankets and roasting sticks — the single upgrade that made mine get used more, because nobody had to run inside for a throw
Surround surfaces:
– Pea gravel with steel edging is the best cost-to-look ratio I’ve found — about $2–$4 per square foot in materials
– Flagstone or paver circles if you want it to read as intentional and permanent
– A low seating wall (18″ high, dry-stacked block with a stone cap) doubles capacity without adding furniture
Layout, Lighting, and Layering
Position the pit so you can see it from inside the house. That sightline is what turns “backyard” into “the place we go after dinner.” If you can’t see it from the kitchen or living room, you’ll forget it exists by October.
Seating spacing: chairs 3–4 feet from the flame, and no more than 5 feet between chair centers. Push them further and people stop talking to each other.
Lighting layers, in order of importance:
1. String lights overhead — warm white, 2700K, on a dimmer if you can. Bistro-style with real glass bulbs, not the plastic ones that yellow in a season.
2. Solar path lights from the house to the pit so nobody trips carrying drinks
3. One or two lanterns on side tables or the ground for low ambient light
Do not add spotlights aimed at the pit. The fire is the light. Everything else supports it.
Texture layering that keeps it from feeling like a showroom: hard against soft. Gravel under a jute-look outdoor rug (kept 4+ feet from the flame). Concrete pit against a chunky knit throw. Steel table with woven poufs underneath. If everything’s smooth or everything’s rough, it reads flat.
Where to Spend and Where to Save
Spend on:
– The pit itself. A $90 bowl warps in two seasons. A $400 smokeless pit or a $700 gas table lasts a decade.
– Cushions. Sunbrella fabric costs more upfront and looks the same after three summers. Cheap cushions fade to a chalky version of their color by August.
– The base surface. Gravel or pavers done right once beats redoing dead grass every spring.
Save on:
– Side tables — a $30 galvanized bucket flipped upside down works, and I’ve used one for three years
– Planters — terracotta from a garden center at $15 each looks better than $80 resin
– Throws — TJ Maxx faux fur, six bucks, replace as needed
– Fire glass — the generic bags on Amazon are identical to the branded ones at three times the price
Mistakes I Made So You Don’t Have To
Pit too close to the house. My first one was six feet from the siding. The vinyl warped in a strip above the pit and I didn’t notice until fall. Ten feet. Non-negotiable.
Too much furniture. I had six chairs, three side tables, and two planters crammed around a 30″ bowl. Nobody could walk through. I pulled two chairs and one table and the space instantly worked.
Wood pit on a composite deck without a mat. Don’t. Get a heat-deflecting mat rated for the pit’s temperature, or switch to gas. Composite decking scorches and the manufacturer will void your warranty faster than you can say “s’more.”
Ignoring wind direction. Stand in the yard on a normal evening and watch which way leaves move. Put seating upwind of that. If you can’t (small yard, fixed layout), go smokeless or gas.
Scale mismatch. A 22″ pit in a 20-foot patio looks like a forgotten flowerpot. A 48″ pit on a 10-foot balcony is a fire code violation and a lawsuit. Match the pit to the zone, and keep the whole seating circle within 12–16 feet wide for a standard yard.
Seasonal Swaps and Cheap Upgrades
You don’t need to redo anything. Change three or four things per season and it reads different.
– Fall: swap cushions to rust or plaid, add a stack of split firewood as a visual element against the wall, mums in the existing planters
– Summer: lighter cushions in cream or sage, citronella in the lanterns, a low bowl of limes and mint as the side table centerpiece (yes, really)
– Winter (mild climates): heavier throws in charcoal or deep green, evergreen clippings in the planters, more candles
Cheap upgrades in order of impact:
1. String lights — under $40 and it’s the single biggest change
2. Better cushions — bumps everything up a tier
3. A rug — pulls the seating into a defined room
4. Repaint the pit — matte high-heat black spray paint, $8, makes a tired bowl look new
If you’re mixing styles, the two that always work: boho-coastal (rattan, cream, ice glass, jute rug) and modern-rustic (black steel pit, gravel, cedar Adirondacks, one big Corten planter). Both let the fire stay the loudest thing in the yard, which is the whole point.
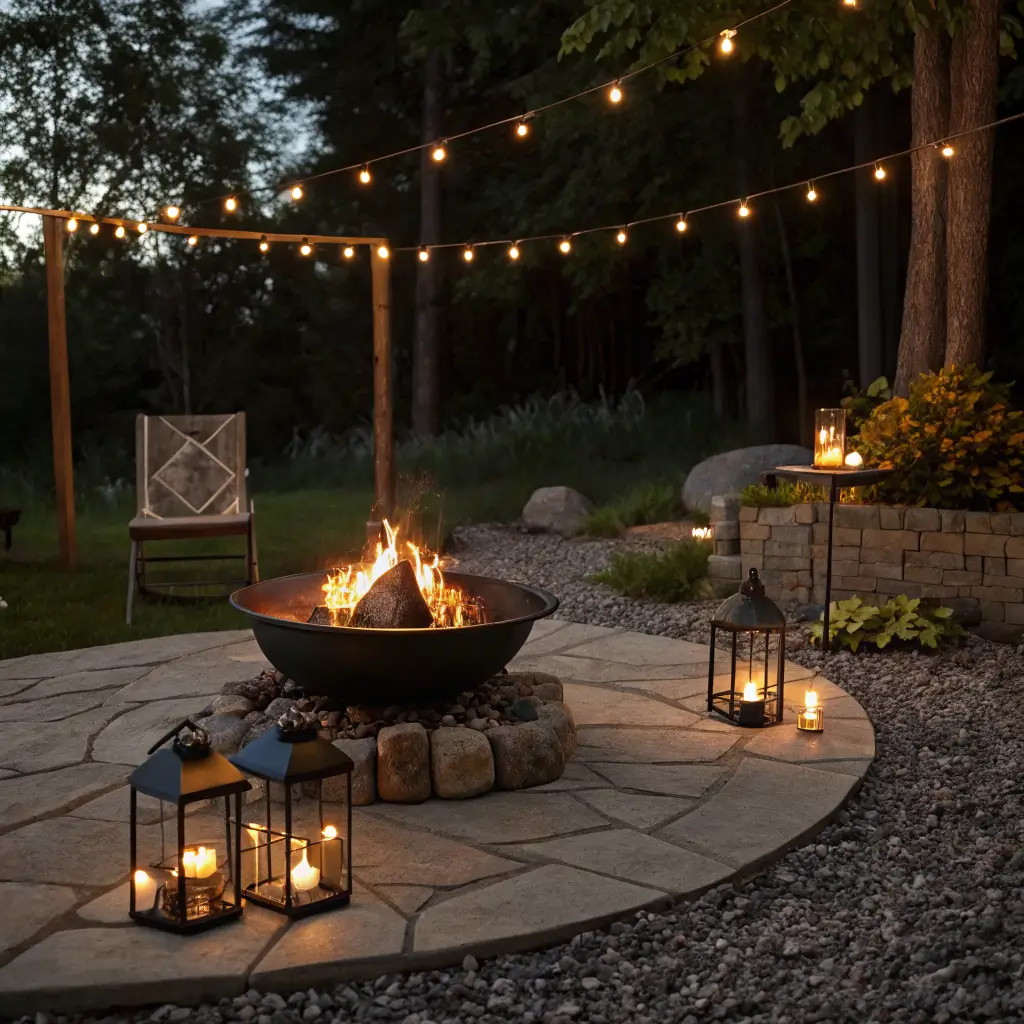
The setup I use now — curved bench, two Adirondacks, 30″ smokeless pit on pea gravel, bistro lights on a dimmer — cost about $850 over two summers and gets used three nights a week from April to October.
That’s the bar. Not how it photographs. How often you actually sit out there.
Outside firepit ideas usually get pitched to you as one thing: buy this bowl, put four chairs around it, done.