I still remember the last-minute scramble before a classroom party and how much I needed a quick, cute activity that wouldn’t turn into a big mess.
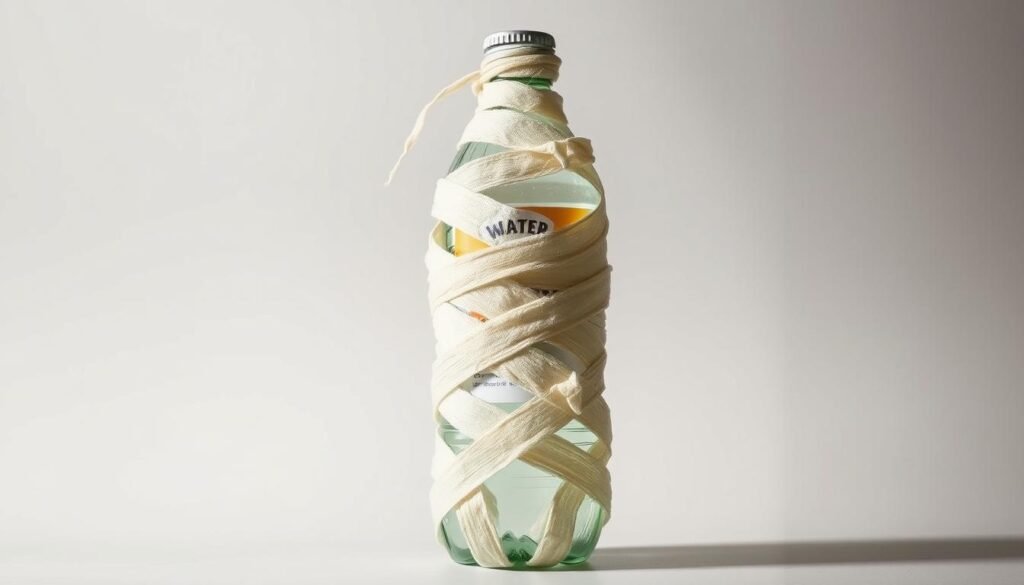
So I made a simple craft that turns a plain water bottle into a tiny wrapped friend in minutes. I walk you through supplies like gauze, a glue stick, googly eyes, black paper, scissors, and tiny spiders so you can gather everything fast.
In about 20 minutes, including cleanup, I can wrap, tuck the end for a neat finish, glue on eyes and a paper mouth, and add a spider for flair. The result looks polished enough for a class table and doubles as a festive drink or porch décor.
I’ll share quick fixes I use when the wrap slips or the eyes move, plus when I reach for a glue gun versus a glue stick. This is the perfect Halloween project when I’m short on time and need fuss-free charm.
Why I love turning small water bottles into cute Halloween mummies
I love turning a plain small bottle into a playful, low-cost craft that looks polished with little effort. Making a water bottle mummy from items on hand saves money and cuts waste, which feels good and practical.
Reusing a small water bottle teaches kids creativity and a simple sustainability lesson. I show them how paper, gauze, and glue can change something headed for recycling into a festive accent.
The finished mummy water pieces work as porch décor or as party drinks. They add festive impact without extra centerpieces, so I save time and keep the table tidy.
- I reach for this project when I need a calm, confidence-building activity that children finish fast.
- Each bottle can be silly or spooky, so the look fits any party vibe.
- Supplies are usually already in my drawer, keeping prep light and budget-friendly.
What you need: gauze, googly eyes, black paper, and a glue stick
A short supply list keeps prep quick and helps kids finish their projects in one sitting. I set up a tidy table with labeled trays so everything stays easy to find. Used bottles work fine once they are clean and dry.
Materials
- small water bottles, cleaned and dried
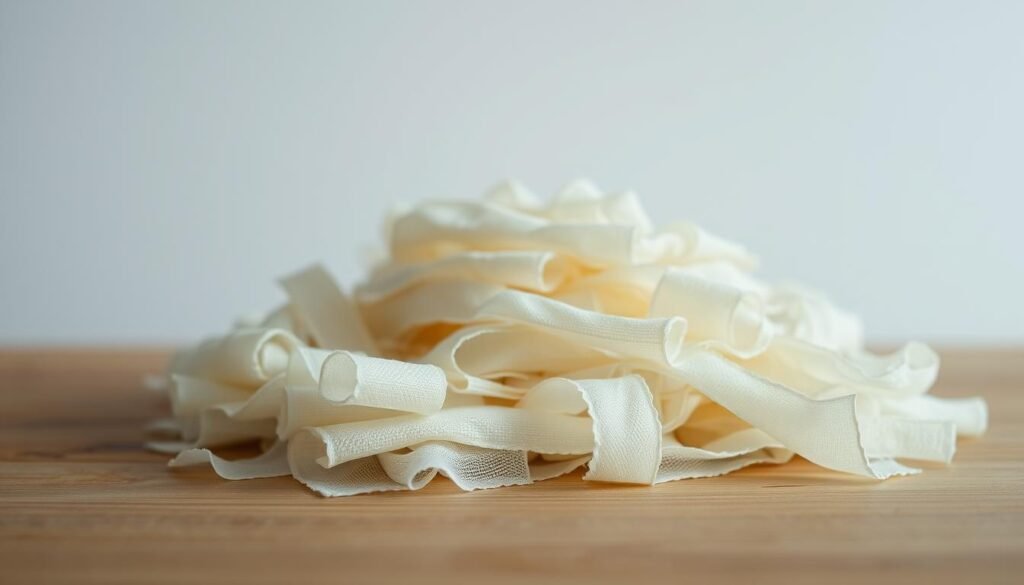
- gauze (I keep extra strips ready)
- googly eyes in mixed sizes and black paper for mouths
- plastic spiders for a playful touch
Tools
- scissors with rounded tips for safety
- glue stick for most steps and a glue gun if you need a stronger hold
Quick note on reusing and budgeting
I prefer reused bottles to save money and cut waste. The gauze wraps easily around each bottle; cut excess and tuck the end for a neat finish. Glue on the googly eyes, snip a small paper mouth from black paper, and add a spider to finish.
| Item | Purpose | Kid-safe? | Quick tip |
|---|---|---|---|
| Gauze | Wraps around the bottle for the look | Yes | Pre-cut strips to speed things up |
| Googly eyes | Adds character | Yes | Mix sizes for fun expressions |
| Black paper | Mouths and small accents | Yes | Pre-cut simple shapes for younger kids |
| Glue stick / Glue | Adheres eyes and paper | Glue stick: Yes; Glue gun: adult use | Keep an extra stick in a fix-it kit |
DIY Mummy Water Bottles step-by-step
A few straightforward steps turn a plain bottle into a festive, party-ready prop. I keep directions short so helpers and kids can follow along without fuss.
Wrap the bottle and tuck the end
I start by wrapping the water bottle from the bottom up, overlapping the gauze so no plastic shows. I trim extra gauze with scissors and tuck the tail under a nearby layer to lock it in for a clean finish.
Glue on the googly eyes and cut a mouth
I dot a small amount of glue stick where the eyes will go and press the googly eyes for a few seconds. Then I cut a simple mouth from black paper and glue it below the eyes for character.
Add a spider and small details
I place a tiny spider near a seam or cheek for a playful touch. A few extra gauze wraps or tiny paper accents make each bottle unique.
Quick fixes if things slip
- If the gauze slips, I anchor the start with clear tape or a micro dot of glue.
- If eyes won’t stick, I roughen the spot, add fresh stick, or use a tiny dot of glue.
- If the mouth peels, I press longer with a small smear of glue or use thinner paper.
- I remind kids to keep caps on so water won’t dampen the wrap and loosen the glue.
| Step | Tool / Item | Purpose | Quick tip |
|---|---|---|---|
| Wrap | Gauze, scissors | Cover the bottle and create the wrapped look | Overlap slightly and tuck the end |
| Eyes | Googly eyes, glue stick | Add character with a fixed focal point | Press for several seconds to adhere |
| Mouth | Black paper, glue | Give expression and personality | Use thin shapes to avoid peeling |
| Finish | Spider, small accents | Make each bottle unique and playful | Place near seams or cheek areas |
Class party and Halloween hosting tips: fast, fun, and mess-free
I keep this activity tight so it fits a 20-minute slot in a busy class schedule. A quick demo, clear stations, and pre-cut pieces let kids finish without fuss.
How I run this in about 20 minutes with kids
I open with a 3-minute demo that shows wrapping, tucking, and pressing eyes in place. Then kids get 8–10 minutes to wrap and glue, 3–4 minutes to add faces and spiders, and 3–4 minutes to clean up.
Stations—gauze, eyes, paper mouths, spiders—keep lines short. I pre-cut strips and a few mouth shapes so most kids use only scissors for small trims.
Minimizing mess and keeping small hands safe
I ask kids to leave caps on their bottles and dry hands first so adhesive works better. One adult manages scissors and another handles glue dots to protect fingers.
- I use trays or sheet pans to corral supplies and catch scraps.
- Baby wipes and a tiny trash bin at each table speed cleanup.
- Calm, spooky music keeps the room focused without extra distractions.
| Phase | Minutes | Lead task |
|---|---|---|
| Demo | 3 | Show wrap, tuck, and glue placement |
| Make | 8–10 | Wrap gauze and trim with scissors |
| Finish & Clean | 6–8 | Add eyes/spiders, wipe hands, quick tidy |
I end by snapping a quick group photo of the finished lineup before kids take their bottles to snack time. It’s an easy way to preserve the memory and show off classroom creativity.
Ready to serve: my favorite ways to style these mummy water bottles
When guests arrive, a lined-up cluster on a black tray gives instant party impact. I scatter a few plastic spiders and tuck a paper runner underneath so the wraps pop in photos.
I chill a set in a cooler and drape a strip over the lid so the spooky look carries to the beverage station. I also add tiny name tags so each water bottle mummy doubles as a place card at the kids’ table.
Mixing mini and standard sizes makes a layered display, and I keep spares in the fridge to restock as guests grab a drink. For curb appeal, I perch a few on the windowsill or porch steps so the bottle mummy lineup reads festive from the street.

