DIY Unicorn Picture Frame: Three Ways to Make One (Kids’ Craft, Cricut, and Shadow Box)
What You’re Actually Making (and Who It’s For)
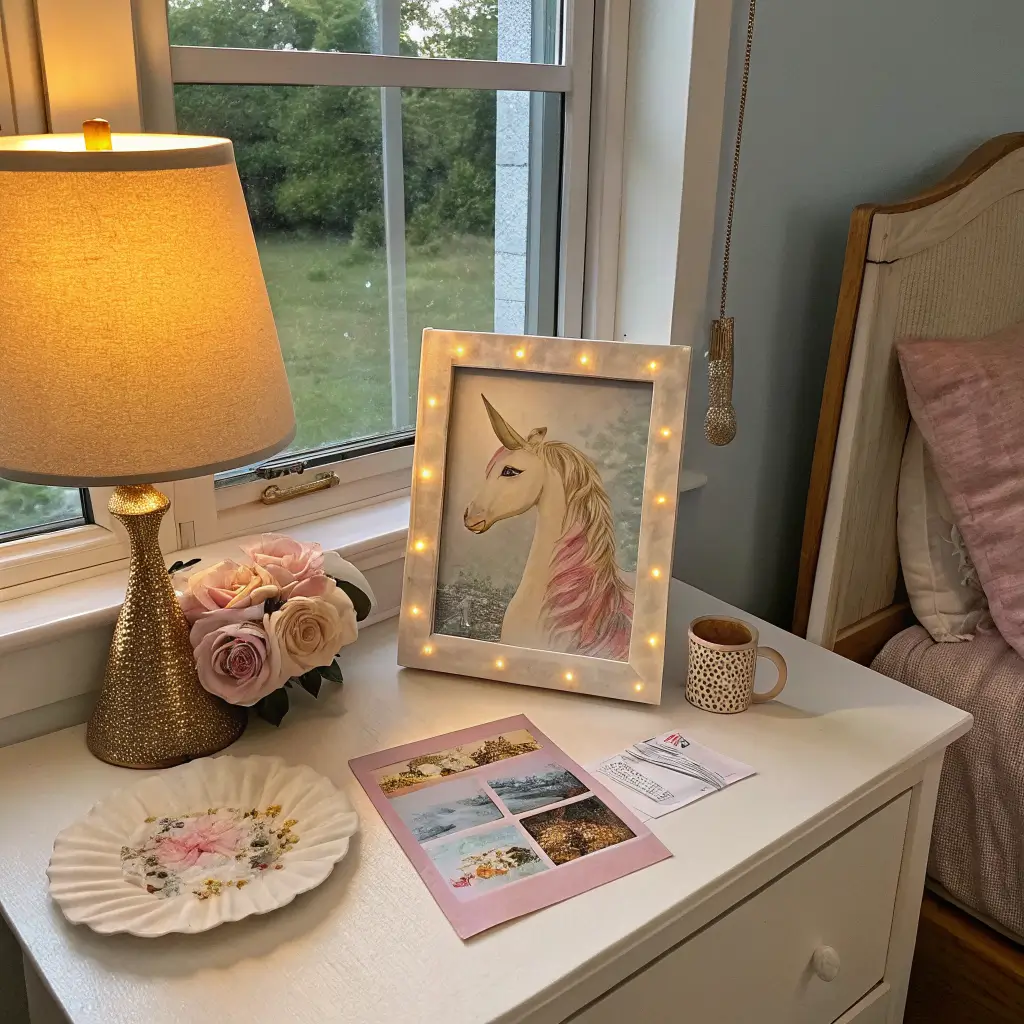
The diy unicorn picture frame was the craft I actually finished with my niece. A $4 frame and some felt horns beat anything in the party aisle.
There are three real paths here, and picking the right one saves you a lot of frustration:
Paper plate or cardboard frame — 30 to 60 minutes, around $5–$10 for several frames. Beginner. Great for kids 5–12 and birthday party craft stations.
Painted wood frame with vinyl — 1.5 to 2 hours including paint dry time. Around $10–$25 if you already own a Cricut. Intermediate. Best for gifts, personalized name frames, and nursery decor.
Unicorn shadow box with paper flowers — 2 to 3 hours. Around $30–$45 from scratch. Intermediate to advanced. This is the one that looks like it came from an Etsy shop if you do it right.
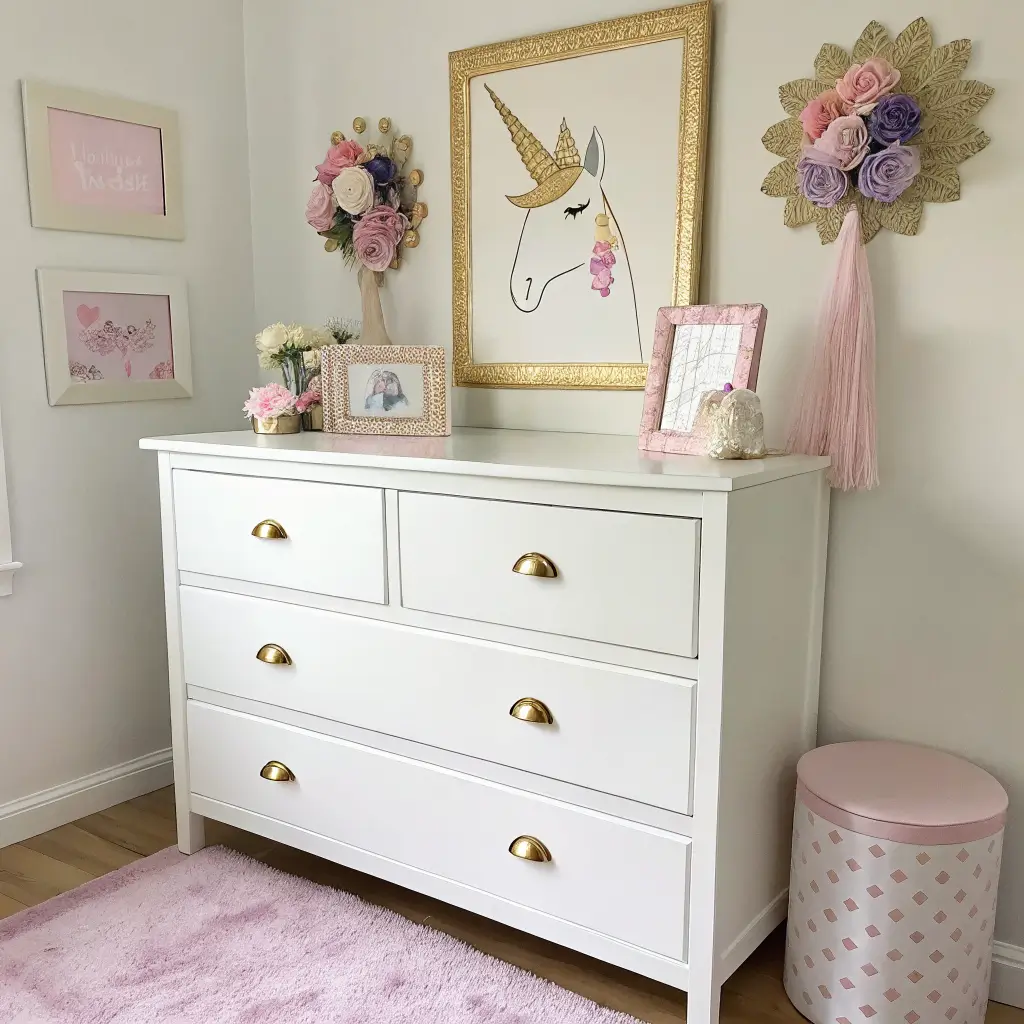
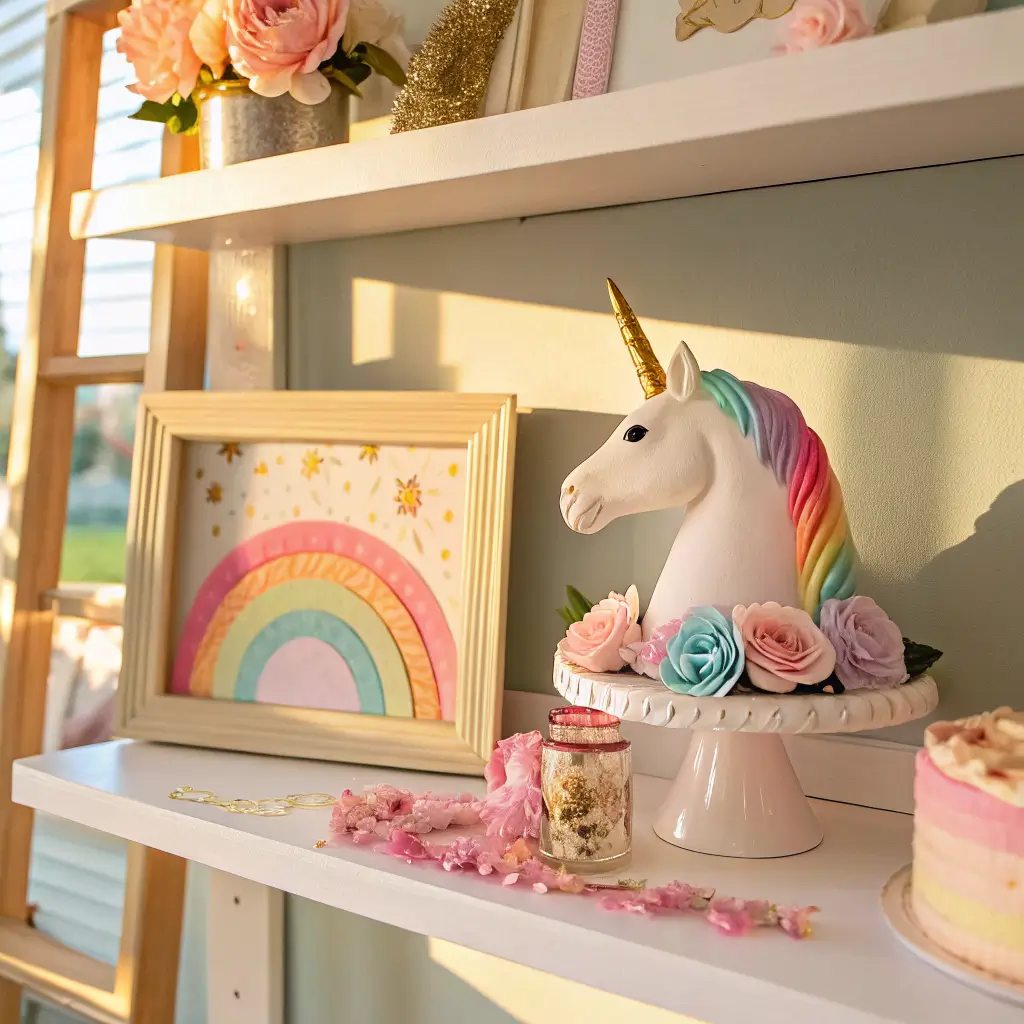
All three lean into the same look: pastel pinks, lavender, mint, and baby blue with a gold metallic horn, cream unicorn face, and clusters of paper or foam flowers around the top. Whimsical kids’ decor with a kawaii tilt. It works year-round in kids’ rooms and nurseries, and it peaks hard around unicorn birthday parties.
The Key Pieces That Actually Make It Look Like a Unicorn
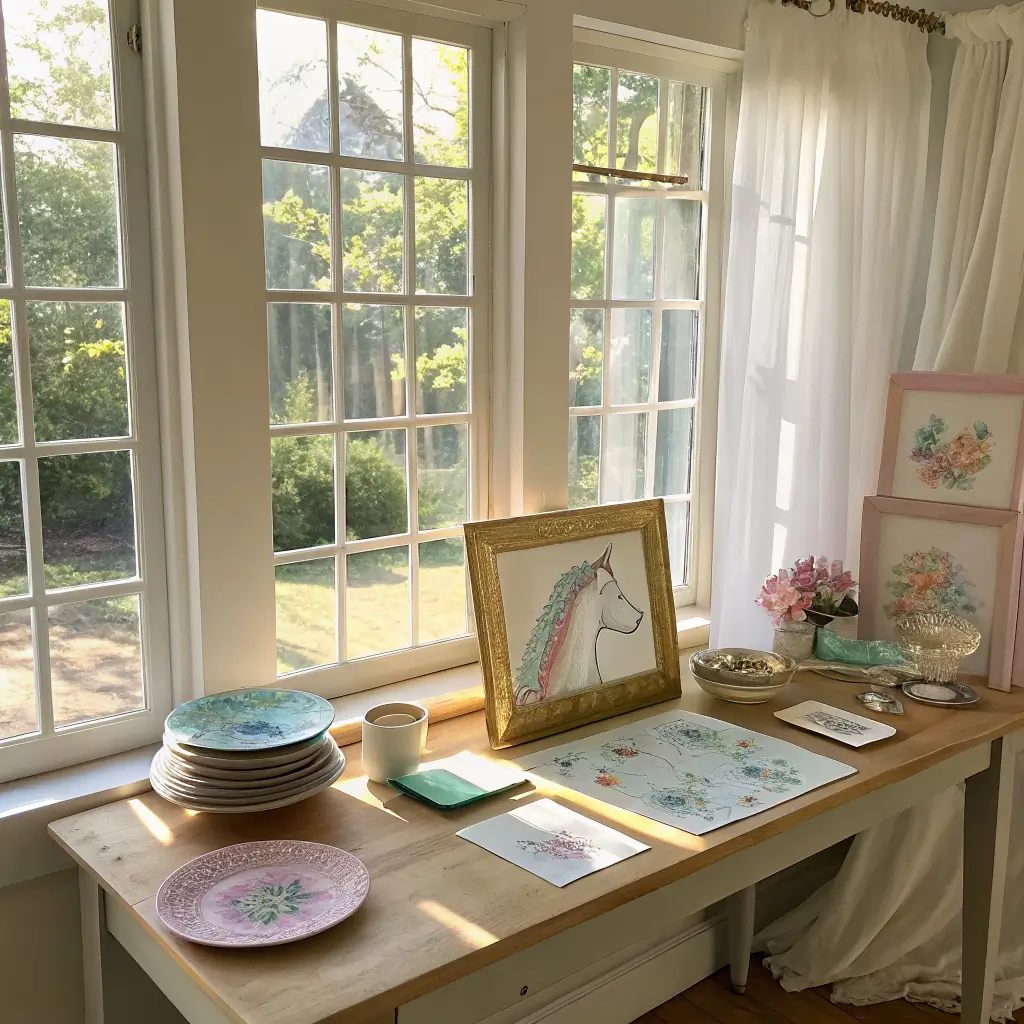
I’ll say this bluntly: what separates a good unicorn frame from a craft-fair disaster is the horn and the flower cluster. Everything else is supporting cast.
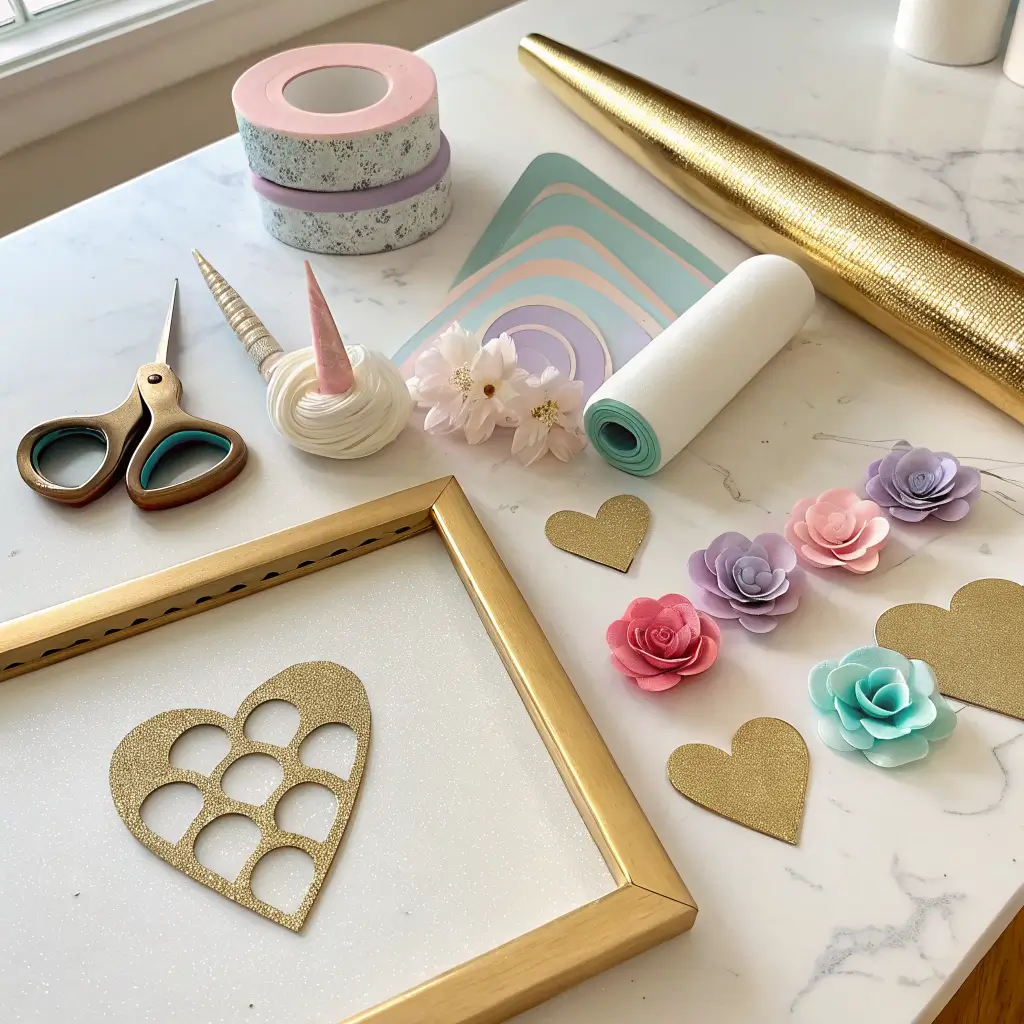
The horn. Gold foil cardstock or a painted cardboard cone. Not glitter glue swirled on a triangle. If you want the striped spiral look, cut a long triangle from gold cardstock and roll it tight — the seam becomes the spiral automatically.
The flower crown. Three to seven flowers in graduated sizes, largest in the center at the base of the horn, smaller ones fanning out. This is the single thing that pushes the frame from “kid’s craft” to “I would put this on a shelf.”
The face. Closed eyes with long lashes, angled slightly downward like the unicorn is sleeping. That’s the look. Open eyes with pupils always end up creepy — trust me, I tried it on my first version and it looked like a startled horse.
Ears. Rounded triangles from white craft foam with a smaller pastel or glitter layer glued inside. Angle them outward, tucked slightly behind the horn.
Colors and Materials I’d Actually Buy
Palette I keep coming back to:
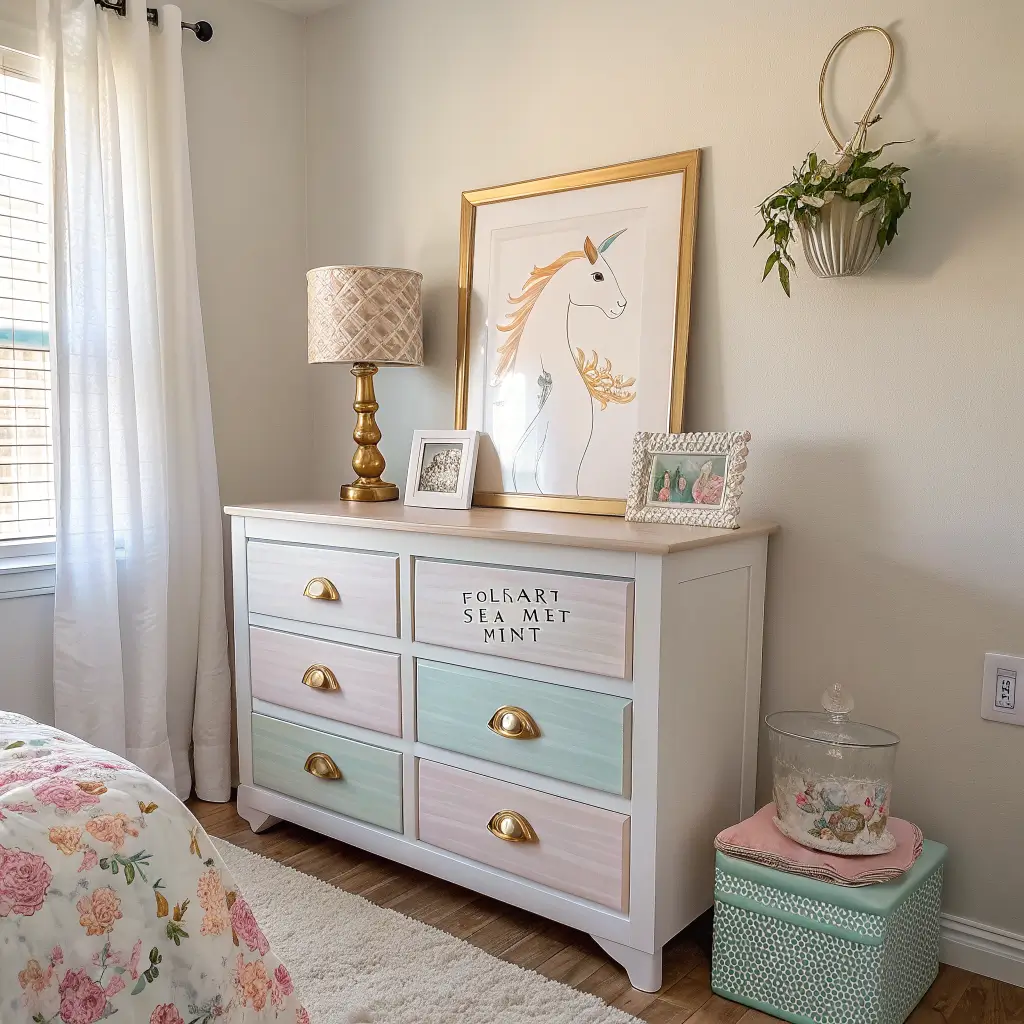
Base frame: cream, white, or one soft pastel (I like FolkArt Coastal Texture Paint in Sea Mist)
Accent pastels: pink, lavender, mint, baby blue — pick three, not five
Metallic: gold for the horn and any lettering. Pick gold or silver and commit. Mixing them looks accidental.
Face: pure white or ivory so lashes read clearly
Materials worth the money:
Unfinished wood heart or square frame from Michael’s or Dollar Tree ($1.25–$5)
65–80 lb cardstock for flowers (thinner paper flops)
Permanent vinyl and transfer tape for lashes and names
Hot glue gun — school glue will not hold a cardstock flower cluster, no matter what the tutorial says
Skip: pre-made unicorn horn stickers. They always look flat next to a 3D flower cluster.
How to Build Each One
The paper plate version (kids’ craft)
1. Cut two circles from paper plates, rims removed.
2. Cut the inner circle out of one to make a ring — that’s your front.
3. Glue the solid back circle behind the ring, but leave the top edge unglued so a photo can slide in from the top.
4. Cut a horn and 3–5 flowers from glitter cardstock. Glue them centered at the top of the ring.
5. Fold a strip of leftover plate into a triangular stand and glue it to the back.
6. Slide a 3×4″ photo in from the top.
Finished size is about 7–9″ across with a 3–4″ photo window. This is the one to do at a party table with a glue stick, glitter foam sheets pre-cut, and zero hot glue.
The painted wood frame with vinyl
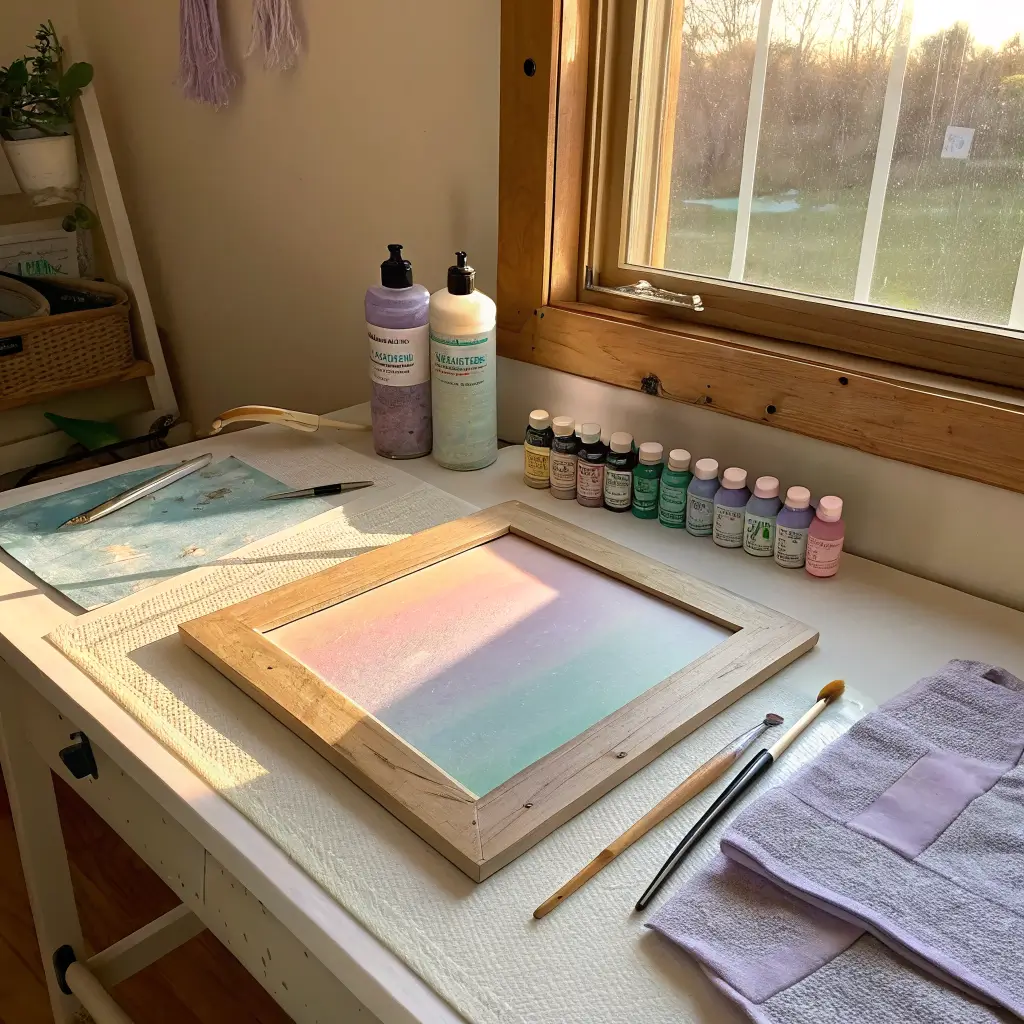
1. Paint the base. Foam brush, thin even coat. Let it dry fully — twenty minutes minimum. Rushing this is why the second coat gets streaky.
2. For ombre or rainbow: work wet-on-wet, blending only at the overlaps. Yellow to green to blue on one side, yellow to pink to purple on the other, meeting in the middle. Use a separate foam brush per color or you’ll get mud.
3. Sand lightly if you used texture paint on raw wood — a quick pass with 220 grit softens the edges.
4. Apply vinyl. Weed your Cricut cuts carefully. Before you press transfer tape to the frame, pat it against a cotton shirt or your forearm five or six times to reduce the tack. This is the single tip that saved me — the first frame I did, the tape lifted a chunk of my paint off with it.
5. Glue on the horn, ears, and flowers in that order. Horn dead center at the top, ears just behind and angled out, flowers layered across the base of the horn.
6. Insert the photo.
Rule of thumb for the horn: it should be roughly one-third to one-half the width of the frame. Bigger than that starts looking like a party hat.
The shadow box
1. Cut a foam core panel to fit the shadow box interior (an 11×14″ box is the sweet spot).
2. Cut your vinyl unicorn silhouette, lashes, and name on the Cricut. Free SVGs are everywhere.
3. De-tack the transfer tape (same trick — pat it on fabric) so it doesn’t shred the foam core.
4. Apply vinyl unicorn head and name to the foam core, using light pencil marks as guides.
5. Cut and assemble layered paper flowers in three sizes. Curl the petal edges with a bone folder or the back of a spoon so they aren’t flat.
6. Glue flowers around the horn area — largest in the center, medium fanning out, smallest filling gaps. Add a couple of green paper leaves peeking through.
7. Drop the foam core into the shadow box, close it, done.
Stagger flower sizes and leave negative space — meaning, don’t cover every square inch. The unicorn silhouette needs room to read.
Where to Spend, Where to Save
Spend on: the frame itself if it’s a gift or nursery piece (wood, not cardboard), permanent vinyl (removable peels off), and decent cardstock. Cheap 20 lb printer paper flowers wilt within a week.
Save on: flowers if you have a Cricut — cut your own from scrap cardstock instead of buying paper flower packs at $8 a pop. Save on paint by buying the 2 oz FolkArt bottles ($3 each) instead of larger craft-store brand pots you’ll never finish.
Dollar Tree is legit for: unfinished wood shapes, foam sheets, glitter cardstock, and paper plates. It is not legit for: hot glue sticks (they melt weird), acrylic paint (streaky), or vinyl (doesn’t stick).
Mistakes I Made So You Don’t Have To
Too many flowers. My first frame had flowers running along the entire top edge. It looked like a funeral wreath. Three to seven flowers, clustered, not spread.
Horn too tall. I cut a horn that was two-thirds the height of the frame. It tipped the whole thing off balance. Keep it proportional to width, not height.
Photo window blocked. The horn and flowers should sit above the inner opening of the frame, not draping into it. Dry-fit everything before you glue.
Glitter shedding forever. If you’re using loose glitter or glitter cardstock that flakes, hit the finished piece with a light spray of clear matte sealant. Otherwise you’ll be finding gold specks in your carpet at Christmas.
Muddy ombre. I tried to blend three colors with one brush and got a beige-purple mess. One brush per color. Blend only where two colors meet, and only while wet.
Cardboard frame corners buckling. If you’re making the paper plate or cardboard version, add a second layer of cardboard on the back as reinforcement. Overlap edges by at least half an inch.
Easy Swaps and Variations
Once you’ve got the base technique, you can pivot the whole look with small changes:
Boho unicorn: kraft cardstock frame, terracotta and sage flowers, a small macrame tassel hanging from the bottom edge. No metallic — matte gold at most.
Minimalist unicorn: plain white frame, one gold horn, closed lashes, a single three-flower cluster. No ombre, no rainbow.
Rainbow party unicorn: full rainbow ombre border, striped horn (alternate gold and pink cardstock strips), bright saturated flowers. Loud on purpose.
Seasonal swap: for fall, switch pastel flowers to peach, mauve, and burnt orange with a copper horn. For winter, silver horn and white flowers with tiny silver snowflake accents.
If you’re making these as party favors, batch the work. Cut all the horns first, then all the ears, then all the flowers. Painting ten frames at once and assembling them assembly-line style takes about the same time as making two one at a time.
The frame my niece made at her party — paper plate, cotton ball flowers because we ran out of cardstock, a slightly crooked horn — is still on her nightstand two years later. It’s not the prettiest one I’ve made. It’s the one she keeps.