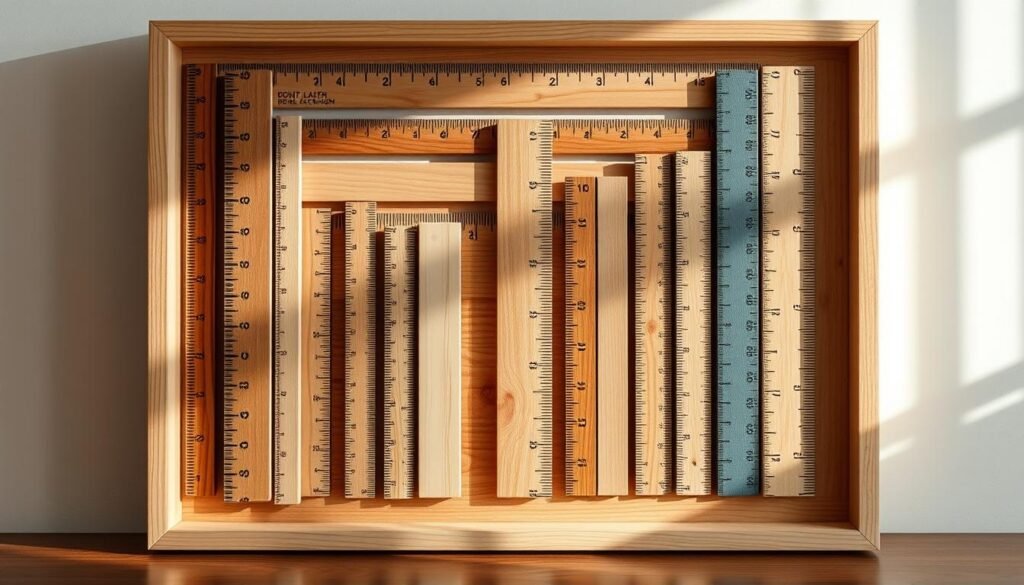
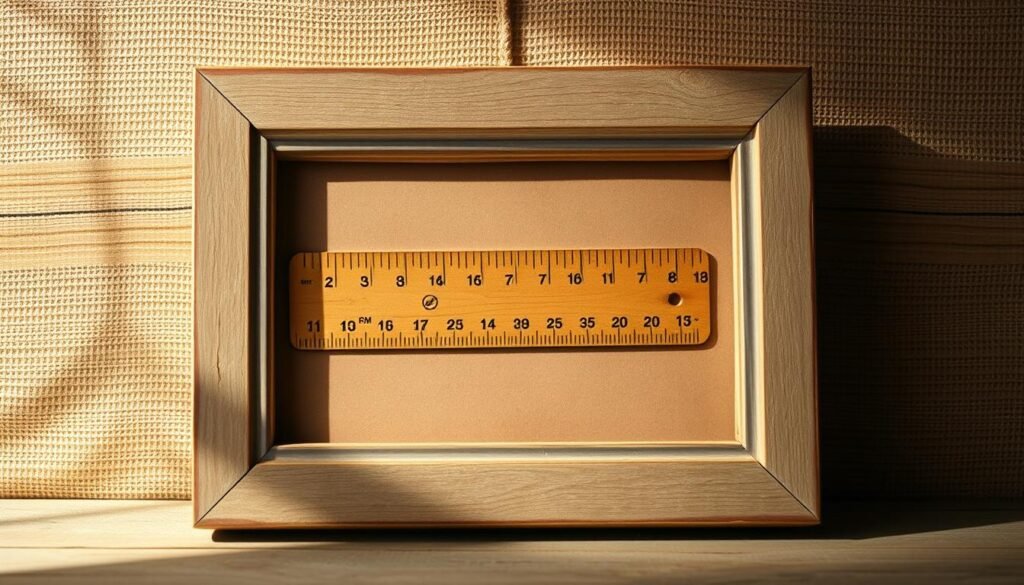
I love turning small finds into big style. A ready-to-glue 10″ ruler picture frame gives me an instant way to showcase mini quilts, favorite fabric, or a tiny print without hunting for exact sizes.
I build mine from cost-effective 1″×4″ lumber and vintage measuring sticks. I cut 45° miters, glue and fasten the corners, then add framing points and D-rings so the piece hangs flat.
This approach saves money and lets me match color, patina, and scale. At $17.00 each and with 10+ in stock, the quick kit is an easy start, and free U.S. shipping applies on orders over $100.
Whether I choose a custom build or the simple 10″ option, the project blends old-school charm with modern decor. I’ll walk you through tools, steps, and sourcing so your art earns the spotlight it deserves.
Why I Love Turning Rulers into a Picture Frame-Friendly Accent
I find that old measuring sticks bring instant personality to any wall. They add warmth and history without stealing the show from small art or textiles.
Design charm: vintage rulers meet modern art
The worn typography, faded edges, and mixed tones make a textured border that pairs well with clean prints. I wrap a slim 1″×4″ profile with strips to keep a minimalist silhouette and let the measuring marks add character.
Great for mini quilts, favorite fabric, or artwork pieces
This style frames fabric edges with a crisp, graphic line. Mini quilts and swatches pop when I mix lighter yellows, deep ambers, and painted numbers to echo colors in the work.
- I prefer a slightly wider face so I can offset sticks or alternate brands for rhythm.
- Full-coverage layouts feel bold; inset borders keep the art airy.
- I choose matte or satin finishes to protect patina and avoid glare.
- Planning grain and numbering at corners makes the whole piece look intentional.
Using reclaimed measuring sticks and basic 1″×4″ lumber is my go-to way to build a budget-friendly, gallery-ready accent that tells a story.
Materials, Tools, and Sourcing for a DIY Ruler Picture Frame
My projects start at the bench with a clean plan and a handful of trusted tools. For a solid build I pull a miter saw, power sander, and brad nailer first. I add a staple gun, a 90° clamp plus two long clamps, ear protection, and safety glasses.
Shop essentials
I keep 5/8″ and 1 ½” brad nails and 1/2″ staples on hand. Short nails hold thin strips; longer nails reinforce corners. A measuring ruler and a clean bench help me repeat accurate cuts.
Materials and sourcing
My parts list starts with 1″×4″ lumber, reclaimed rulers, wood glue, framing points, a 5-in-1 press tool, D-rings, and picture wire. I hunt local vintage shops, Craigslist, and eBay for mixed patina and numeral styles.
| Item | Purpose | Notes |
|---|---|---|
| Miter saw | Accurate 45° cuts | Essential for tight corners |
| Brad nailer & staples | Temporary and permanent fastening | Use 5/8″ for strips, 1 ½” for joints |
| 10″ pre-cut kit | Quick assembly | $17.00, 10+ in stock; free U.S. shipping over $100; assembles from four pieces |
I trim chipped ends before layout and tack ruler strips with staples while glue cures. That keeps the art secure and the final pieces crisp and true.
How I Build a Custom Vintage Ruler Picture Frame Step by Step
My process begins with precise measurements and a steady saw to keep everything square. I walk through cutting, assembly, applying the decorative strips, and final hardware so the piece hangs true.
Cutting the stock and dry fit
I rip a rabbet on the 1″×4″ by removing about 1/4″ so art and backing sit flush. I cut 45° miters on a miter saw, using artwork width plus 1/8″ for clearance.
I copy opposite sides by matching lengths and dry fit all four pieces to confirm squareness and rabbet fit.
Assembly and reinforcement
I run a bead of wood glue at each corner, clamp with a 90° clamp, and staple the back while glue cures. Then I add 1 ½” brad nails—one from each side—so the joint stays tight over time.
Adding the vintage strips
I trim damaged ends, lay outer strips first, measure and cut each piece, and glue them in place. A few 5/8″ brads hold each strip while the glue sets. I finish by lightly sanding edges to remove splinters without losing patina.
Securing the art and hanging hardware
I press framing points in with a 5-in-1 tool so the art sits snug. Finally I add D-rings and picture wire, test balance, and make minor adjustments so the piece hangs level.
| Step | Tool | Key action |
|---|---|---|
| Cut rabbet & miters | Table saw & miter saw | Rip 1/4″ rabbet; measure artwork +1/8″ |
| Assemble | 90° clamp, brad nailer | Glue, staple back, add 1 ½” brads |
| Apply strips | Glue, 5/8″ brads, sander | Trim ends, glue outer edge, sand edges |
| Finish | 5-in-1 tool, D-rings | Insert framing points; attach D-rings & wire |
Bring It All Together: My Finishing Touches and Easy 10-Inch Frame Option
A few simple finishing moves turn a good build into one I’m proud to hang. For quick success I offer a ready 10″ ruler picture frame that glues from four pre-cut parts. It’s $17.00 each with 10+ in stock, and free U.S. shipping applies over $100.
I lightly sand the edges, clean dried glue, seat framing points, and add D-rings with picture wire so the piece hangs flat. I sometimes add a thin clear coat to preserve patina and smooth the surface.
I keep offcuts for corner repairs or thin inner borders. When I want an easy gift, the 10″ option is perfect. I like grouping two or three at varied heights to make a small, curated gallery wall.


