What a Wabi-Sabi Side Table Actually Is
The wabi sabi side table in my reading corner is the one with the ring stain I decided to keep. It holds a book and a cup better than it ever looked new.
Wabi-sabi is a Japanese idea about finding beauty in imperfection, age, and modesty. In furniture, that translates to visible knots, cracked edges, hand-hewn marks, uneven glazes, and finishes that show the material honestly instead of hiding it under polyurethane.
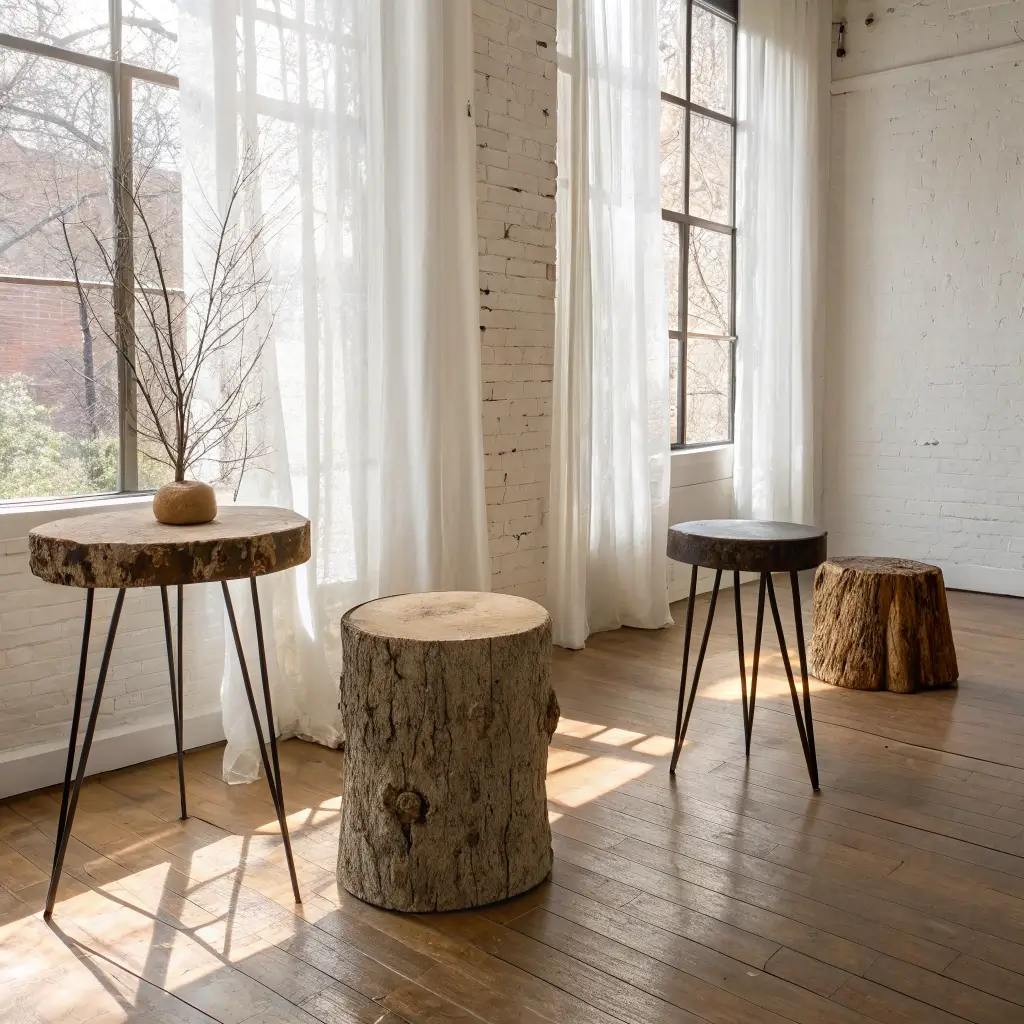
A wabi-sabi side table usually looks like one of these:
– A live-edge slab (walnut or oak) on a small pedestal or three simple legs
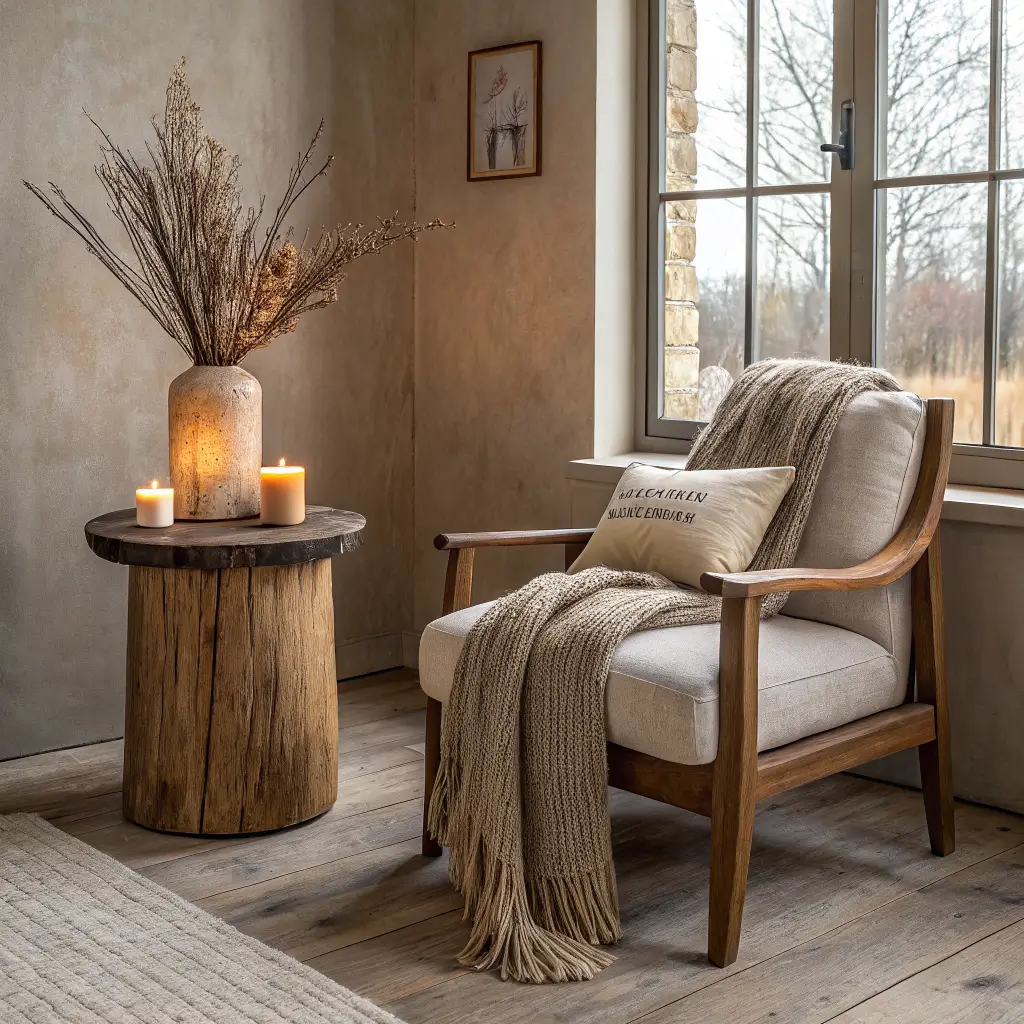
– A cylindrical solid-wood piece — basically a chunky log turned into furniture
– A charred/burnt oak table with a matte-to-glossy black surface, inspired by shou sugi ban
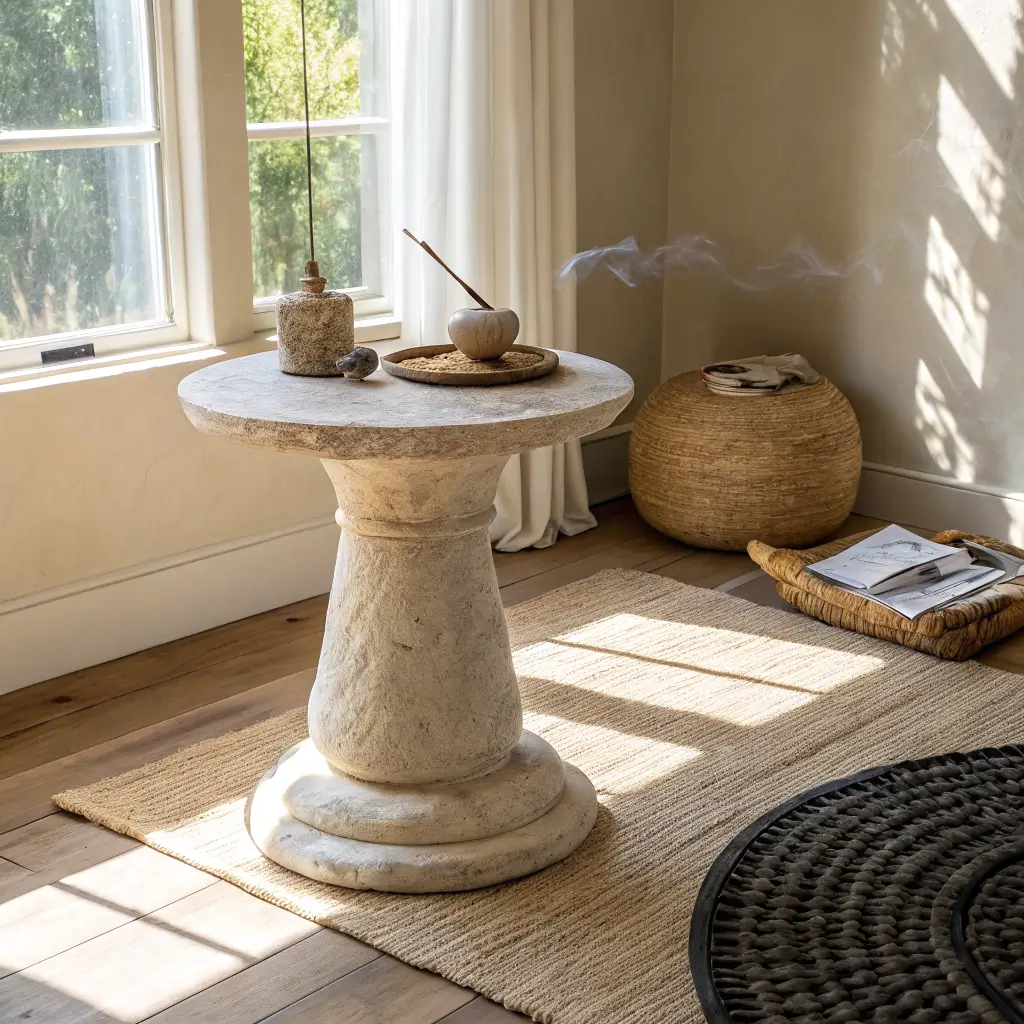
– A hand-carved stone stool or low table, often doubling as sculpture
– An antique low stool from the mid-20th century used as a side table
The common thread: it’s clearly made by hand (or looks like it was), it’s simple, and the flaws are the point.
Who it’s for: minimalists who want warmth, renters who need a small piece that punches above its weight, anyone drifting toward Japandi or slow-living interiors, and people done buying furniture that photographs well but feels like nothing.
Sizing and Where to Put It
Most wabi-sabi side tables land at 15"–20" in diameter and 18"–22" tall. That’s the sweet spot for beside a sofa, next to a reading chair, or as a bedside table for a low platform bed.
A few placement rules I stick to:
– Match table height to the arm of the sofa or chair, within an inch or two. Too low and you’ll spill coffee reaching for it.
– Off-center placement reads more relaxed than perfectly aligned with the arm of the sofa. Push it a few inches out or forward.
– Give it breathing room. Don’t crowd it with a floor lamp, a plant, and a magazine rack. Wabi-sabi needs empty air around it to work.
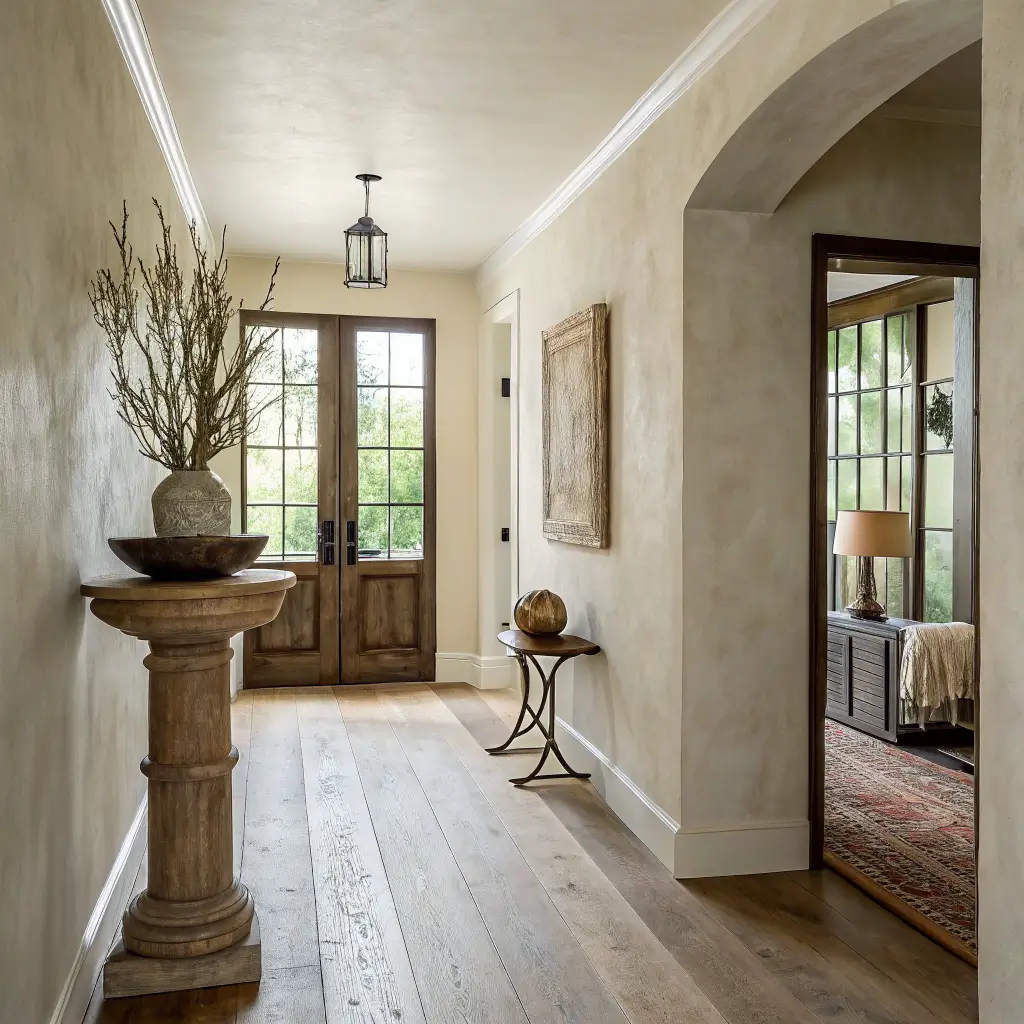
For entryways, a small pedestal version holds keys and one bowl. For a meditation or reading corner, use it for a teacup, a candle, or a single incense holder.
What You’ll Actually Spend
The price range on these is wild, so here’s the honest breakdown:
– $80–$150 — Amazon and Etsy live-edge walnut pedestals, roughly 15" round. Fine as a first piece. Some are thin-slab veneers pretending to be solid wood; check reviews for weight and grain.
– $150–$300 — Etsy artisans and small workshops. This is where I’d spend if I were buying today. Solid oak, real charring, actual hand-finishing. My burnt oak table was around $220 shipped and looks like something in a museum gift shop for four times that.
– $1,000–$3,000+ — Antique dealers and gallery pieces. A c.1950 hand-carved stool doubling as a side table can run $1,290. Carved stone starts around $3,000.
Where to spend: the table itself. Where to save: the objects on top of it, most of which should be thrifted, foraged, or from a local ceramicist you follow on Instagram.
The Materials That Actually Read as Wabi-Sabi
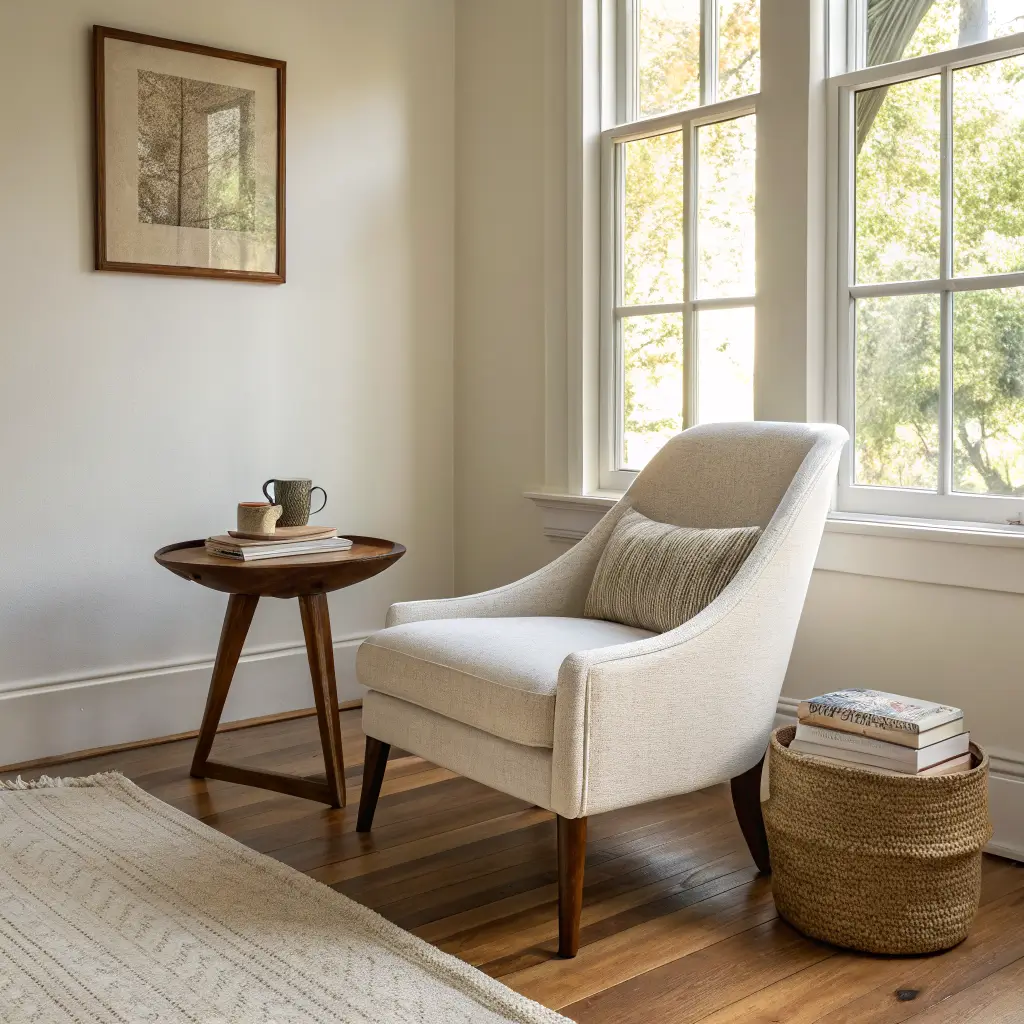
– Walnut — deep brown, dramatic grain, best with oil finishes rather than lacquer
– White or red oak — lighter, especially good for charred/blackened tables
– Reclaimed lumber — barnwood, old beams, whatever has a story
– Blackened or raw steel bases — visible welds are a feature, not a flaw
– Hand-carved stone — pale limestone, soapstone, or local river stone
– Tempered glass — only in small doses, usually as a top over a wood base
Avoid: high-gloss lacquer, chrome, laminate, and anything with a "distressed" finish that was clearly stamped on by machine. You can tell. Everyone can tell.
How I Style One (Step by Step)
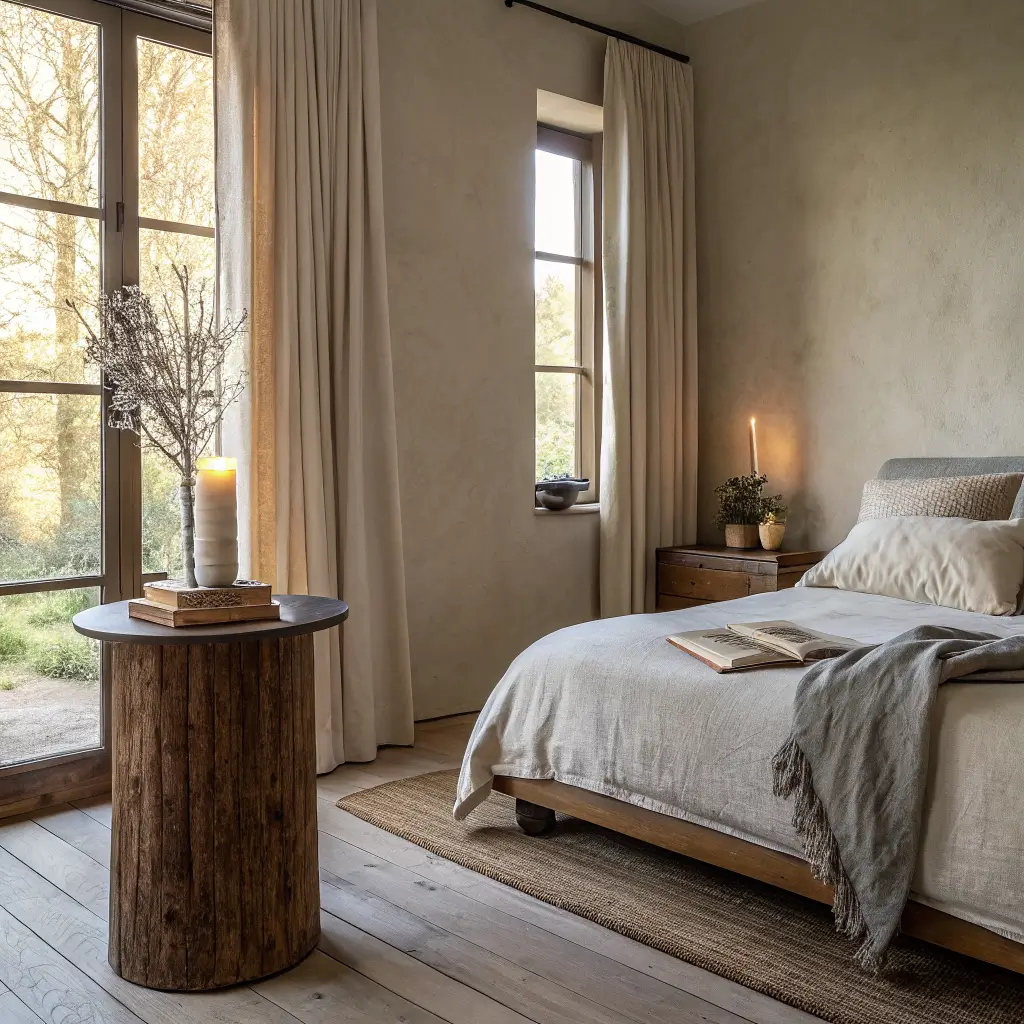
I’ll walk through what I actually do when I set up the burnt oak table next to my reading chair.
1. Start with the table completely empty.
Look at it for a minute. Find the knot, the crack, the burn pattern you want to show off. That’s your anchor.
2. Add one vertical element, off-center.
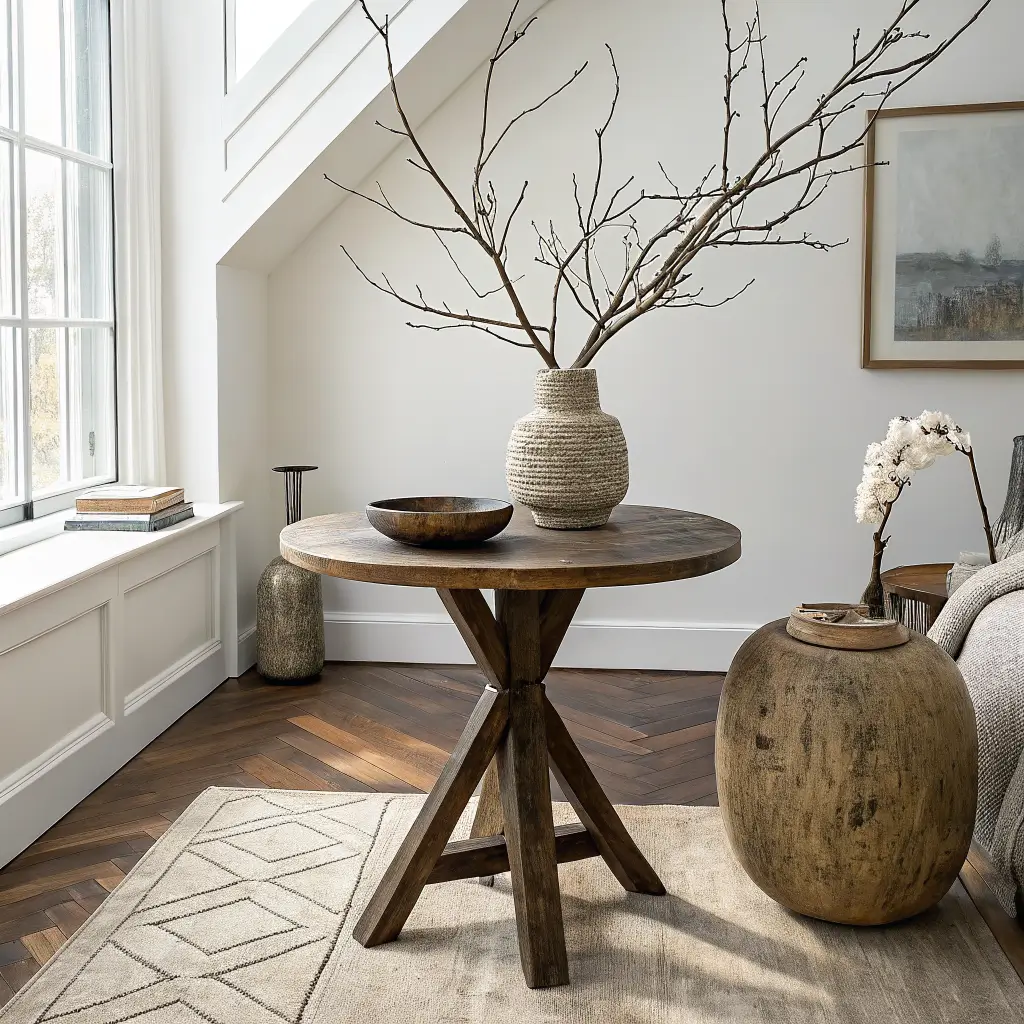
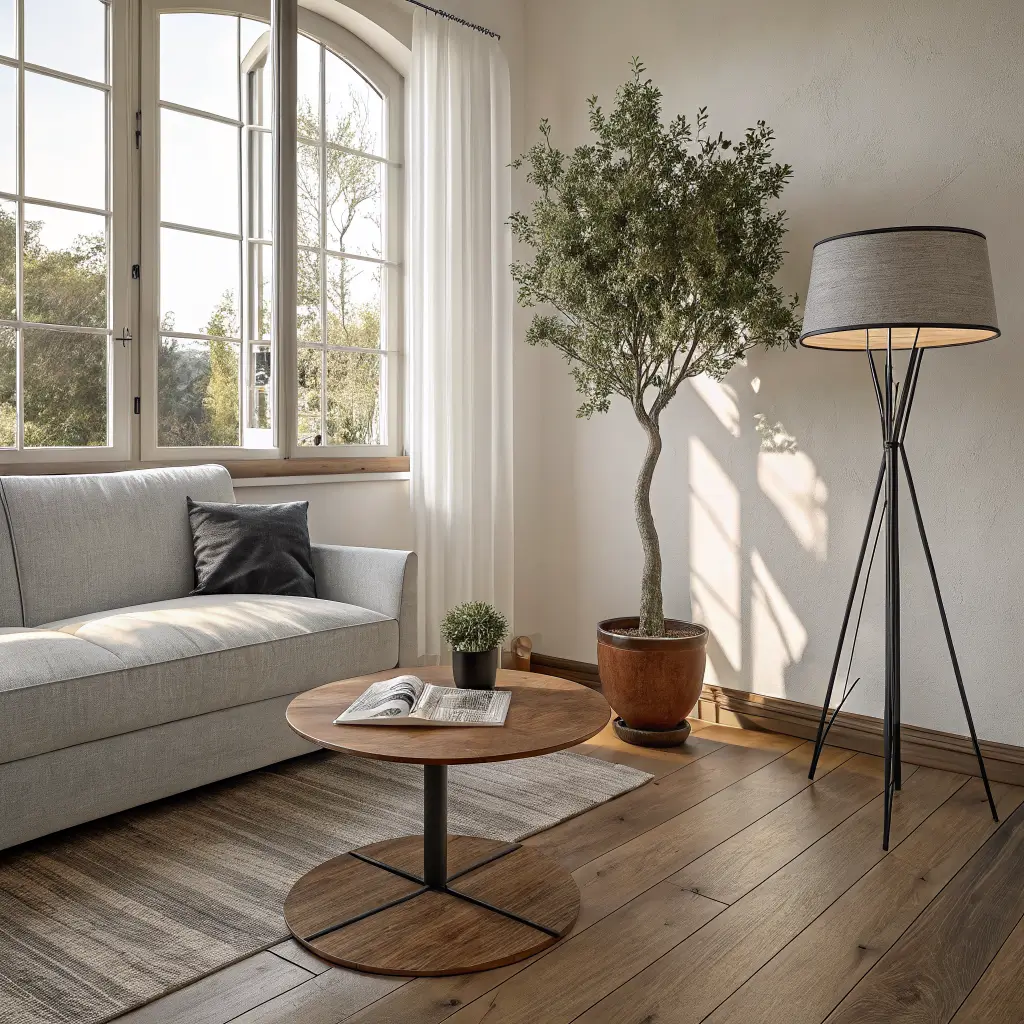
A vase with two bare branches. A small potted olive. A hand-thrown ceramic with an uneven lip. This is the hero.
3. Add one functional object, low.
A single book (worn cover, not glossy). A small ceramic dish for a ring or a teacup. Keep it under the height of the hero.
4. Stop.
I know. You want to add a third thing. Don’t. Or if you must, make it tiny — a single stone, a folded linen coaster.
The 50% rule: if more than half the tabletop is covered, you’ve gone too far. Take something away.
5. Check it from across the room.
If your eye lands cleanly on the hero object, you’re done. If it bounces around trying to figure out where to look, remove another item.
The Mistakes I Made (So You Don’t Have To)
Treating it like a shelf. My first attempt had a candle, a small vase, three books stacked, a coaster, a bowl, and a tiny brass frog. It looked like a garage sale. The wabi-sabi table wants to be seen, not buried.
Buying "distressed" instead of honest. I once bought a side table on sale that had fake wormholes drilled into it. In photos it looked rustic. In person it looked like a prop from a chain restaurant. Real patina or don’t bother.
Wrong scale. I put a chunky ceramic lamp on a 15" round pedestal and it looked like a mushroom about to tip over. Object footprint should be roughly one-third to one-half of the tabletop, no bigger.
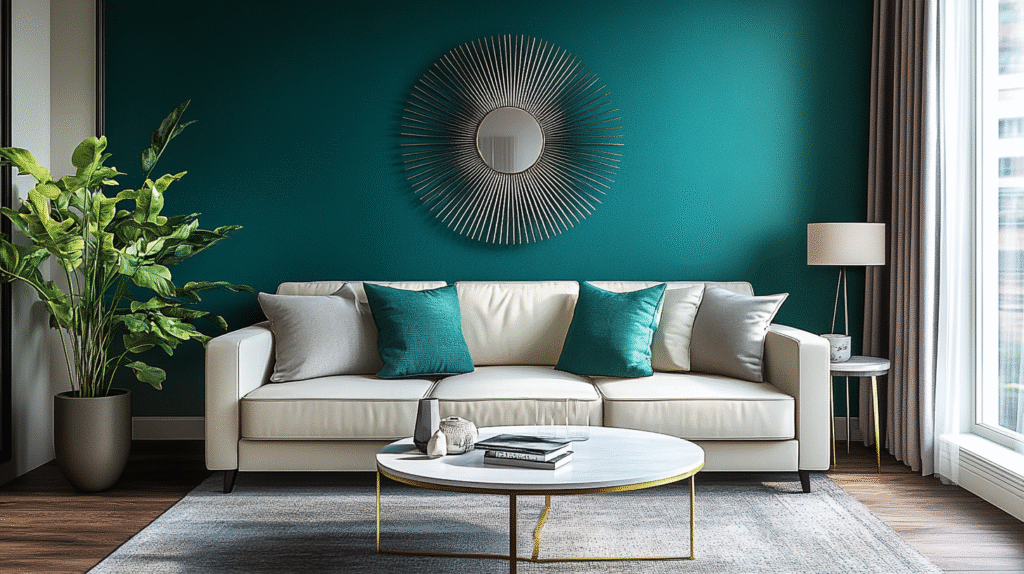
Clashing everything around it. My old rental had a bright teal accent wall behind the table. The table was invisible against it. Wabi-sabi needs a quiet backdrop — warm whites, soft greys, natural linen, unfinished plaster if you’re lucky.
Overcharging the table with "meaning." Not every object needs to be an artisan pilgrimage. A thrift-store bud vase with a good silhouette works.
Objects Worth Putting on It
If you’re building a small collection, these are the ones that consistently earn their spot:
– One hand-thrown ceramic vase or bowl with visible finger marks — check local pottery studios and estate sales before Etsy
– A small brass or aged bronze dish for quiet metallic contrast, used sparingly
– Branches over flowers — one or two bare stems in a tall narrow vase reads more wabi-sabi than a bouquet ever will
– A rough clay candle holder with a beeswax pillar
– One found object: a river stone, a piece of driftwood, a pinecone that’s actually shaped interestingly
Skip: anything with a printed pattern, faux plants (a huge tell), matched sets, and gold accents that aren’t actually brass.
Seasonal Swaps Without Redoing Everything
The core table and the hero object stay. What changes:
– Spring: a single flowering branch — cherry, magnolia, or forsythia clipped from a friend’s yard
– Summer: a small bowl of stone fruit or a linen coaster in undyed flax
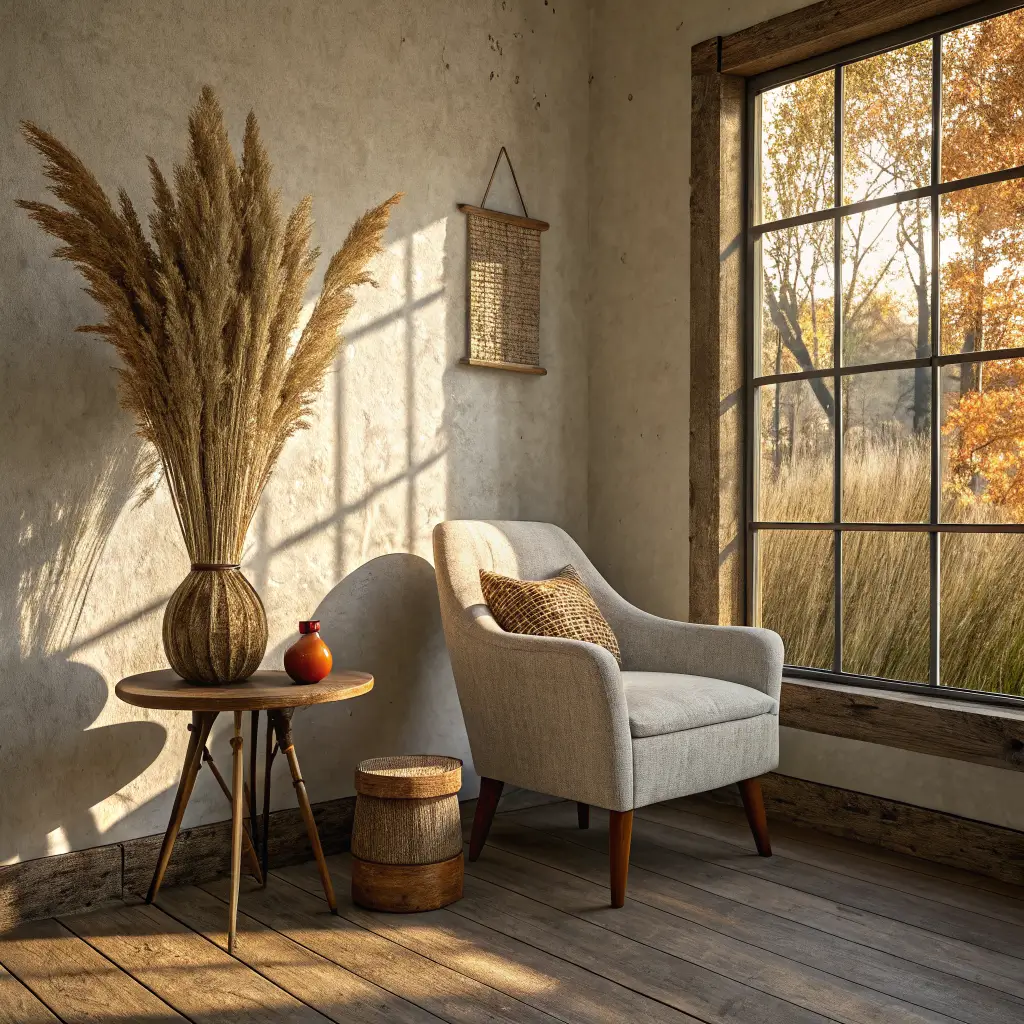
– Autumn: dried grasses, a seed pod, one small persimmon
– Winter: a thick beeswax candle, a pine cutting, or nothing at all — winter is a good season for empty tabletops
Making It Play Nice with Other Styles
If your whole house isn’t going going full Japandi, the table can still work:
– Boho + wabi-sabi: add one woven basket nearby, but stay muted. Skip the pattern-on-pattern layering.
– Coastal + wabi-sabi: driftwood, pale stone, soft greys and whites. Keep silhouettes simple.
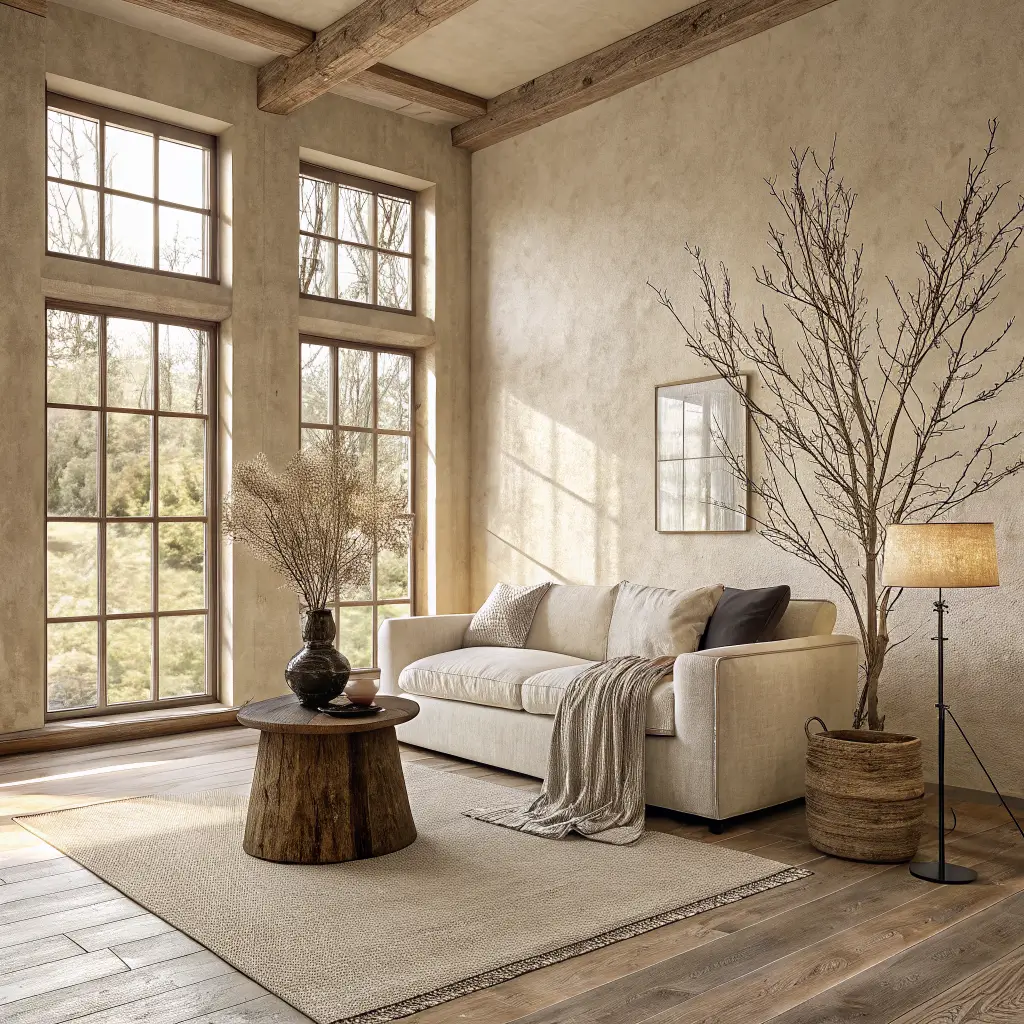
– Japandi (Scandi + wabi-sabi): the easiest match — pale oak floors, low sofa, off-white walls, one wool throw
– Mid-century modern + wabi-sabi: the live-edge slab on a tapered wood base is essentially made for this combo
The Question I Get Asked Most
"My partner likes more polished modern furniture. Can this still work?"
Yes, but pick your table carefully. A cylindrical solid-wood piece or a smooth walnut round with a steel base reads clean enough to sit in a modern room without fighting it. Save the heavily charred, dramatically live-edge pieces for a spot where you have more control — a bedroom corner, a reading nook, an entryway.
The wabi-sabi table doesn’t need to convert the whole house. It just needs one honest corner.